2D Design & Laser Cutting
Exploring computer-aided design (CAD), laser cutting tolerances, and press-fit construction kits.
Fusion 360 Tutorial
Learning the dexterity of parametric modeling.
Following Dr. Melenbrink's square demo to understand constraints and parametric history.
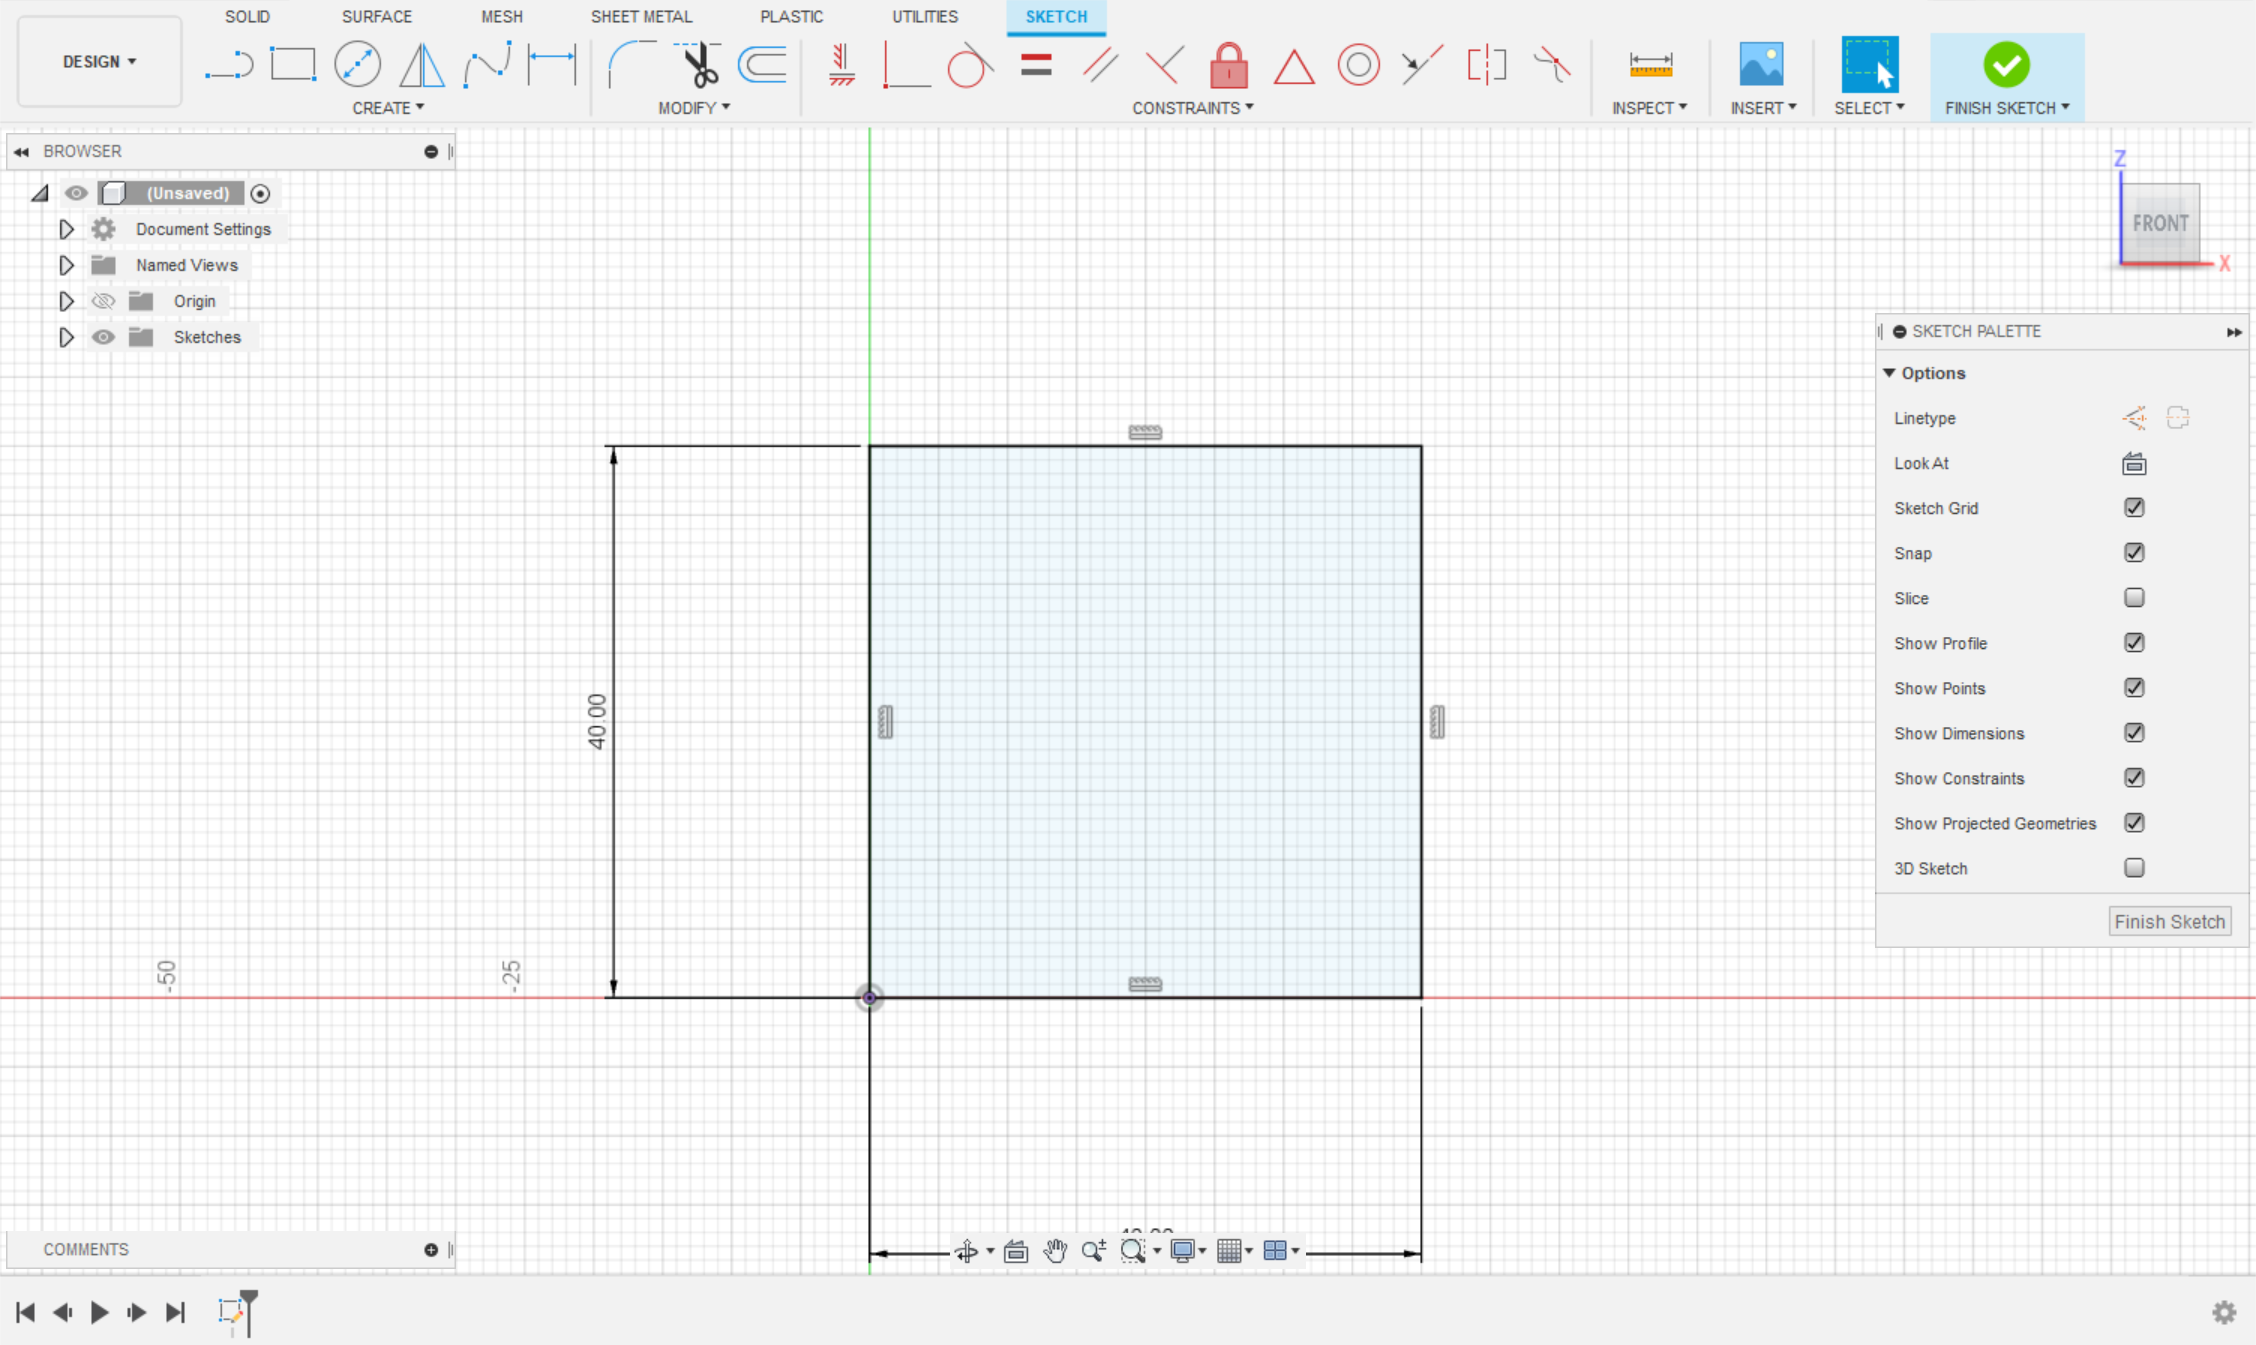
1. Create 40x40mm square
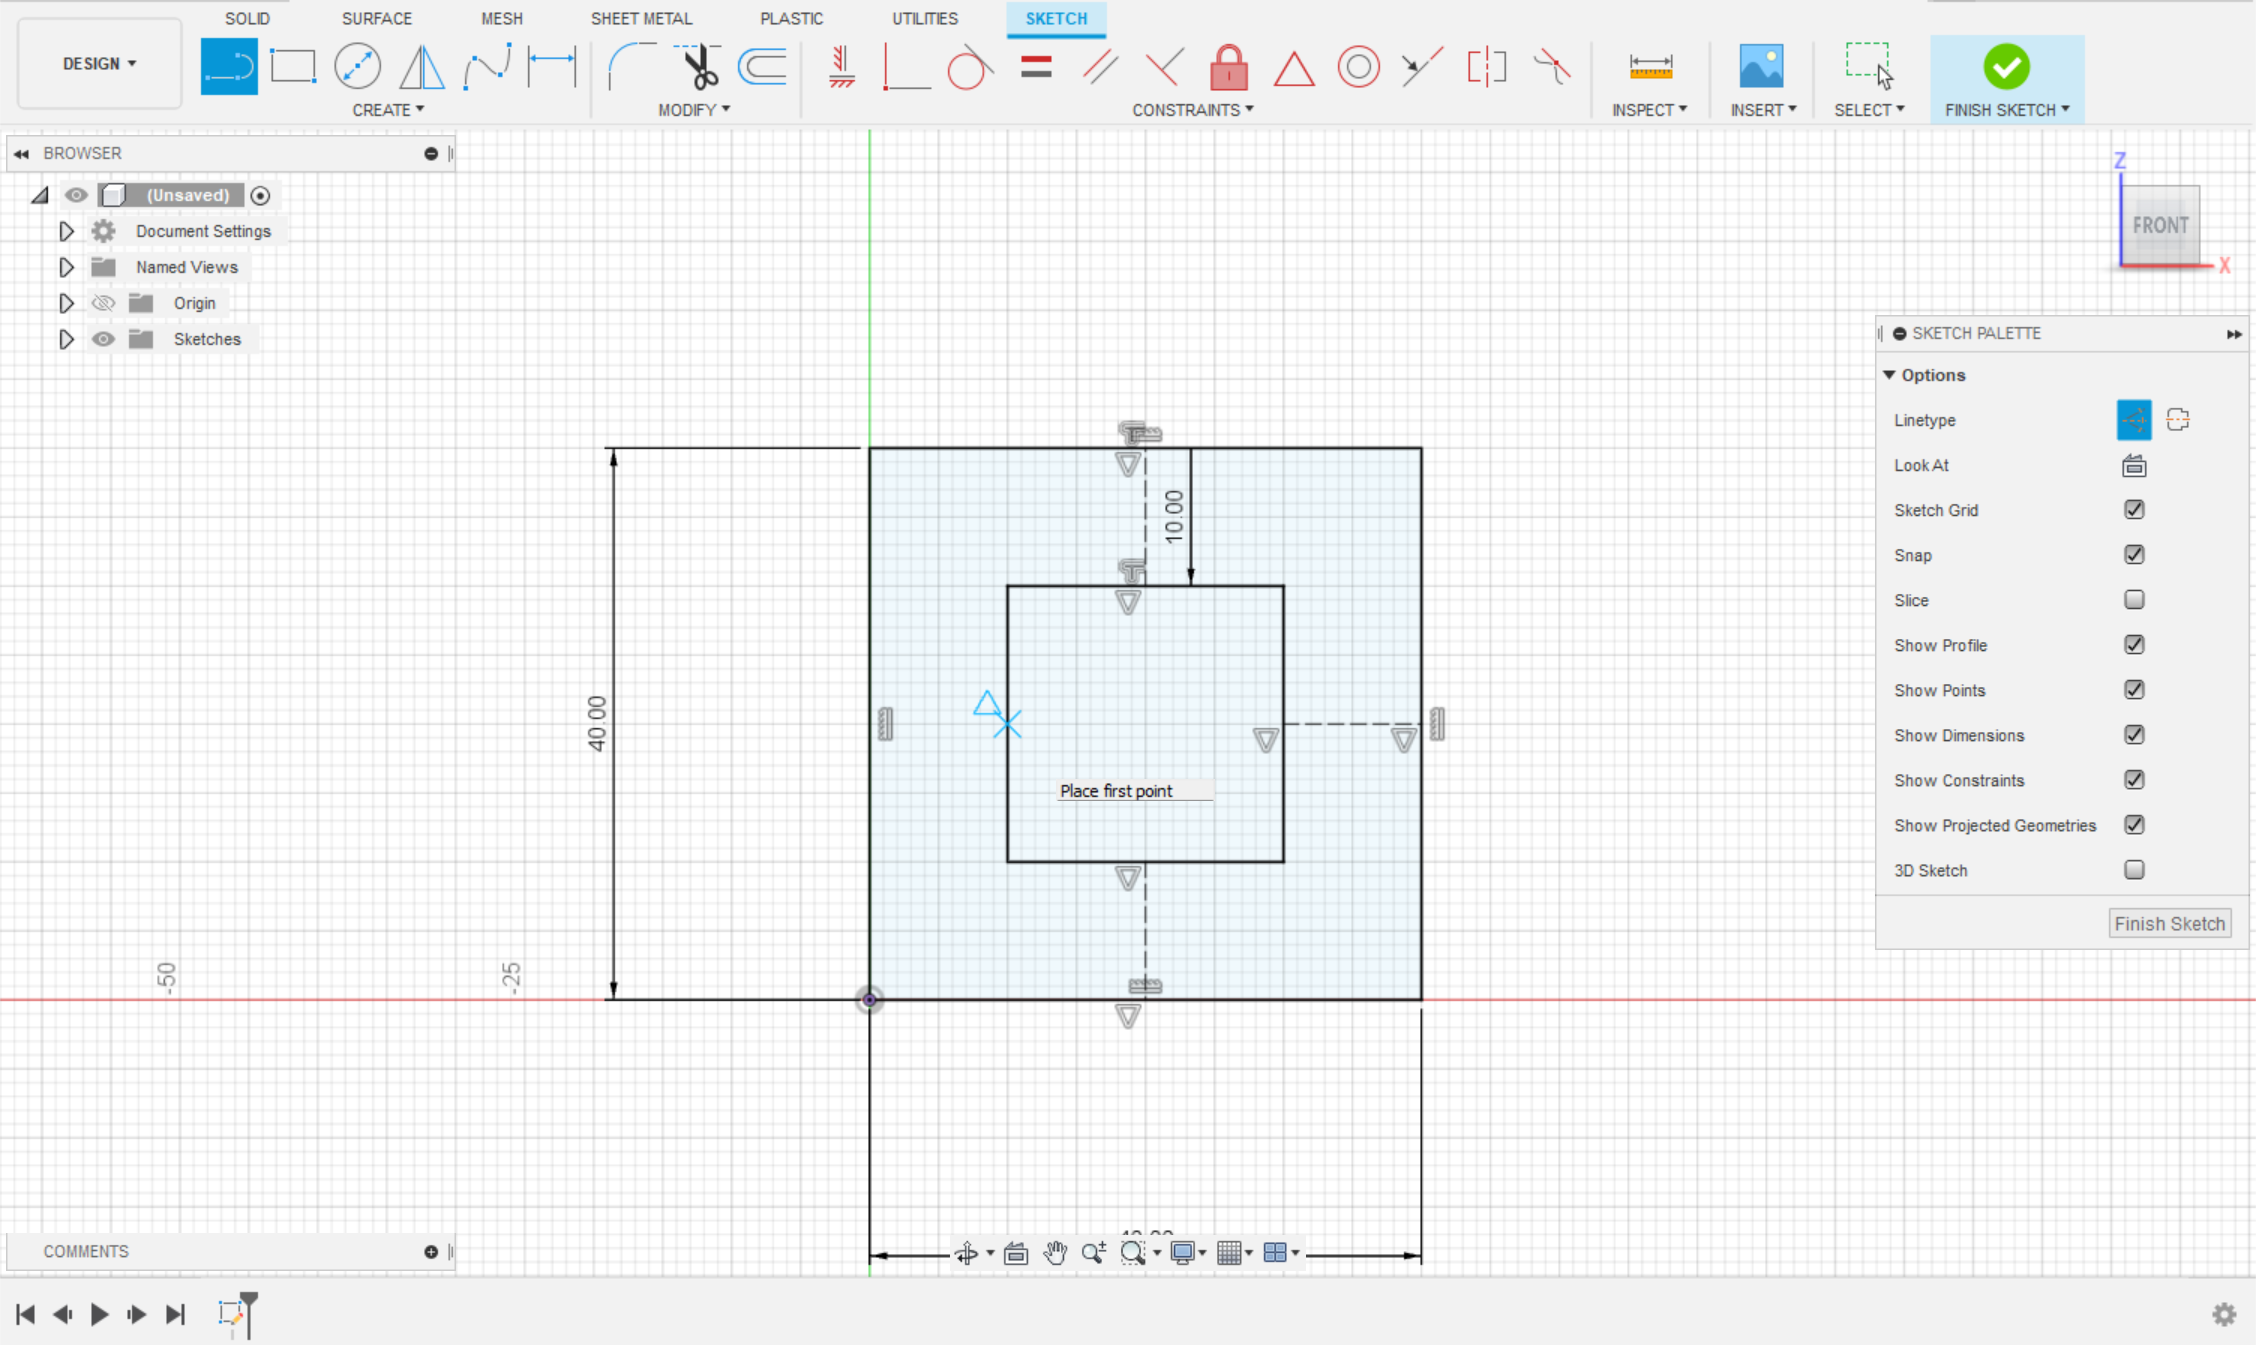
2. Offset -10mm & construction lines

3. Mirror & Extrude 4mm
Modeling Household Objects
Reverse engineering physical objects into digital twins.
The iPhone Project
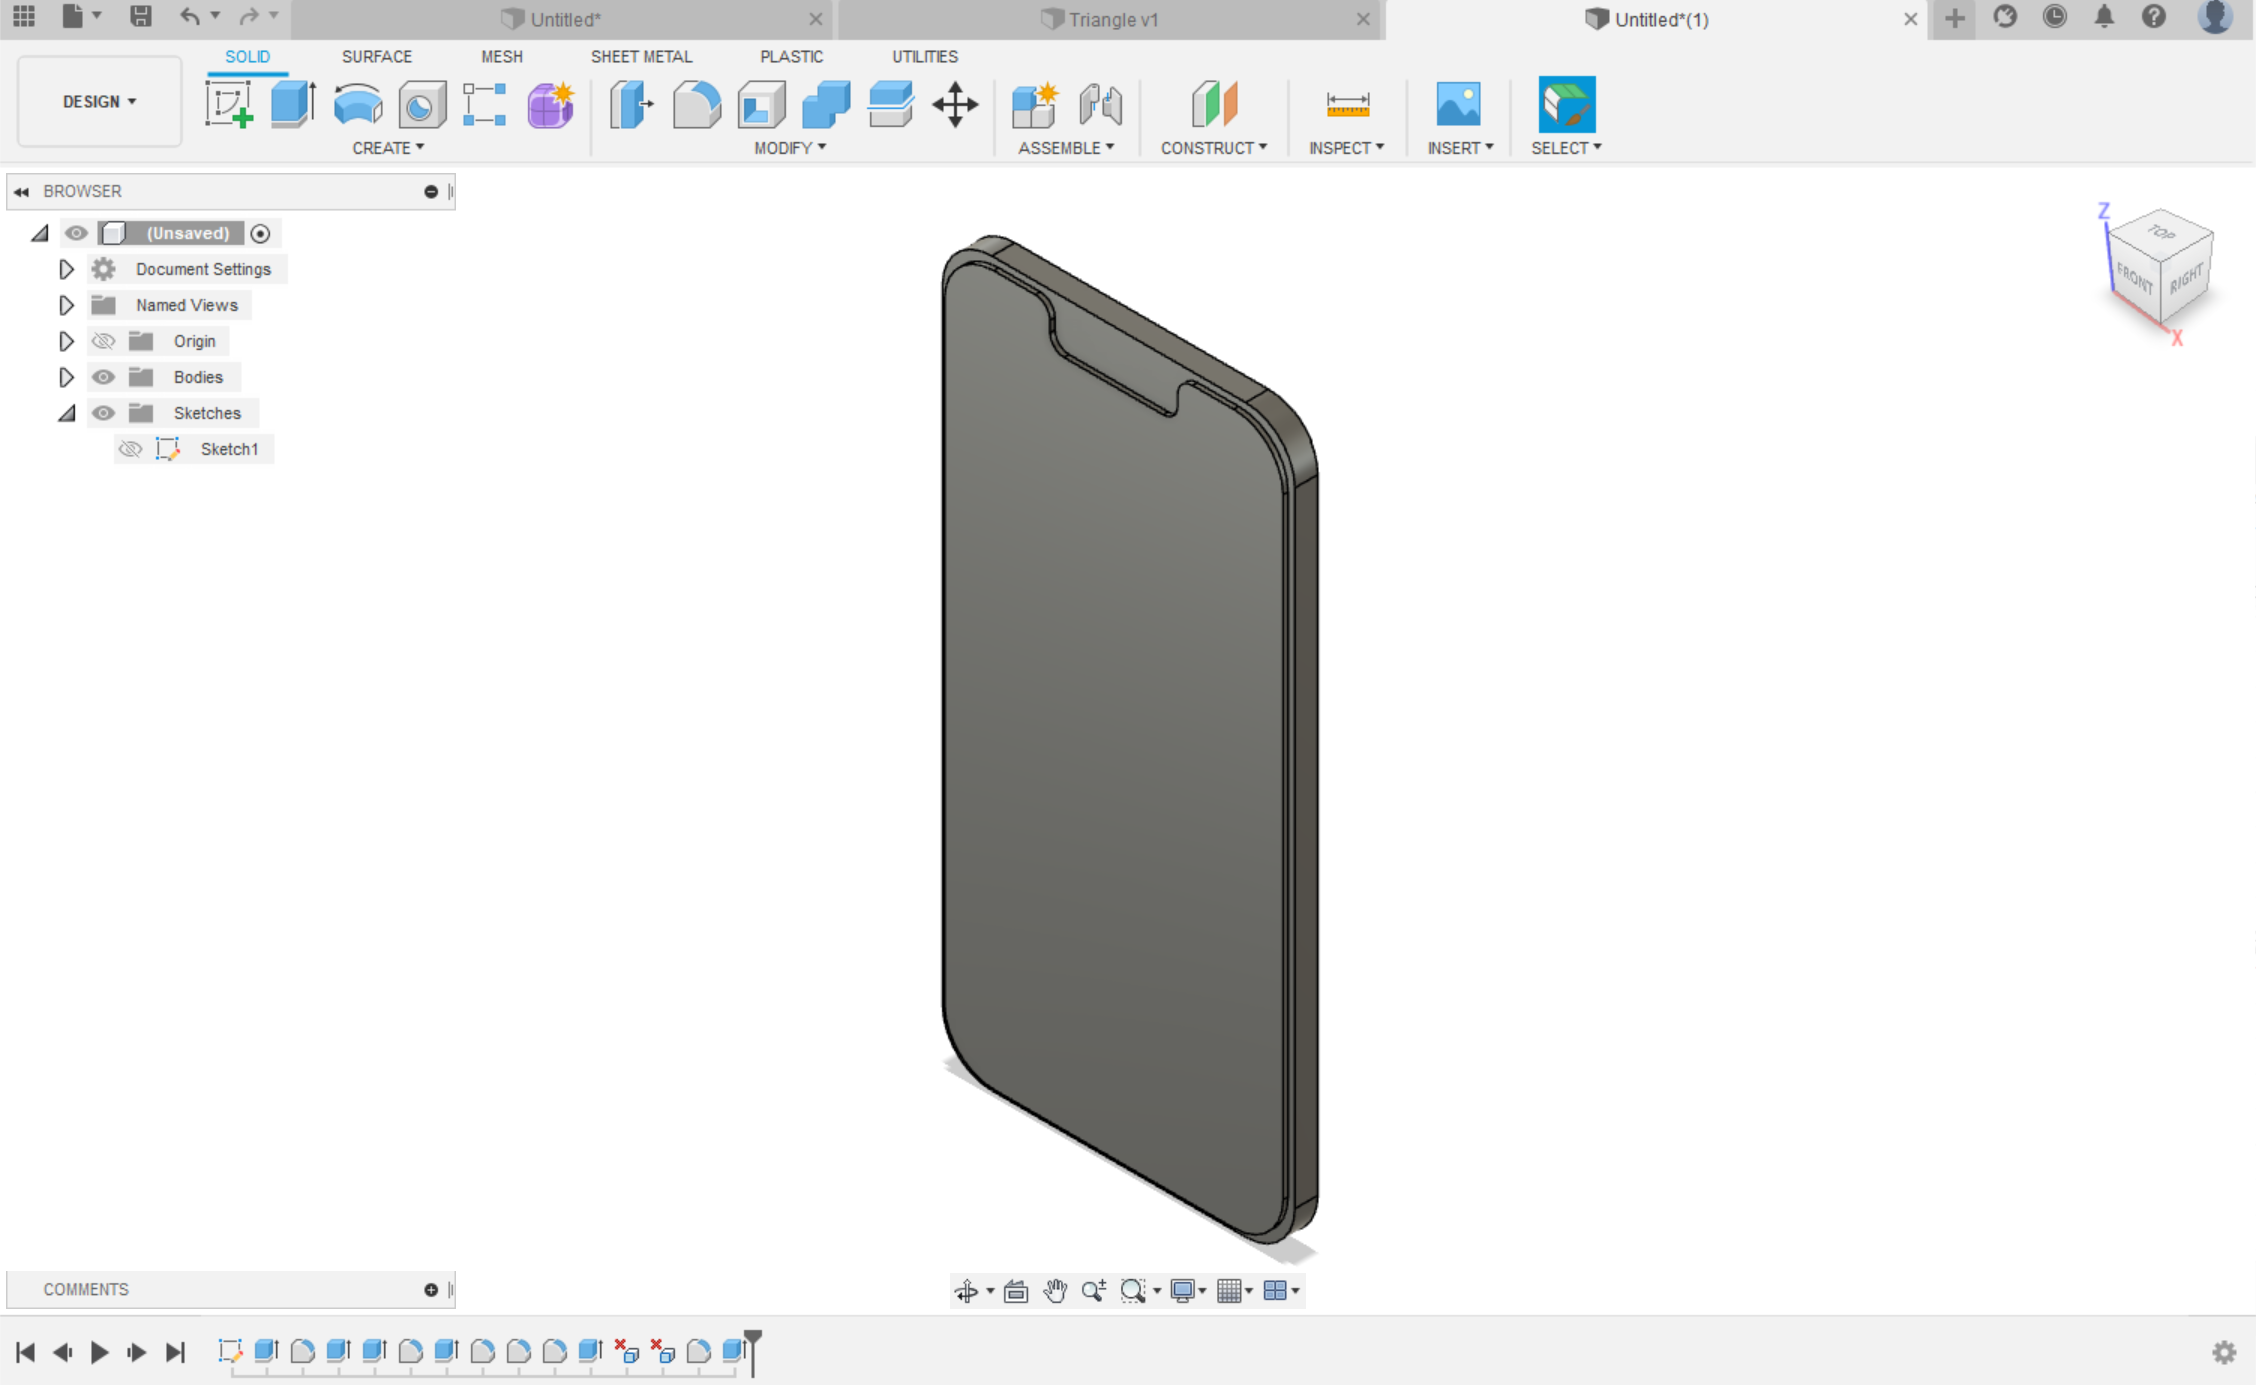
I chose to model an iPhone by first measuring critical dimensions: thickness, length, width, display area, and notch geometry using digital calipers.
- Accurate corner radii
- Button placement constraints
- Camera bump extrusion
Press-Fit Construction Kit
Designing a modular kit that accounts for laser cutter kerf.
Attempt #1: The Hexagon
My first cut was a hexagonal gear mechanism intended to form spheres.
Failure Analysis: Excessive notches rendered the design un-attachable. The vertices interfered with connections, and I completely neglected to calculate the kerf (material burned away by the laser).

Attempt #2: The Kerf Miscalculation
I measured the cardboard cutout at 50.455mm vs the 49.545mm design, calculating a kerf of 0.91mm. This was incorrect. The slots were too tight because I overestimated the kerf, making the fit impossible without damaging the material.

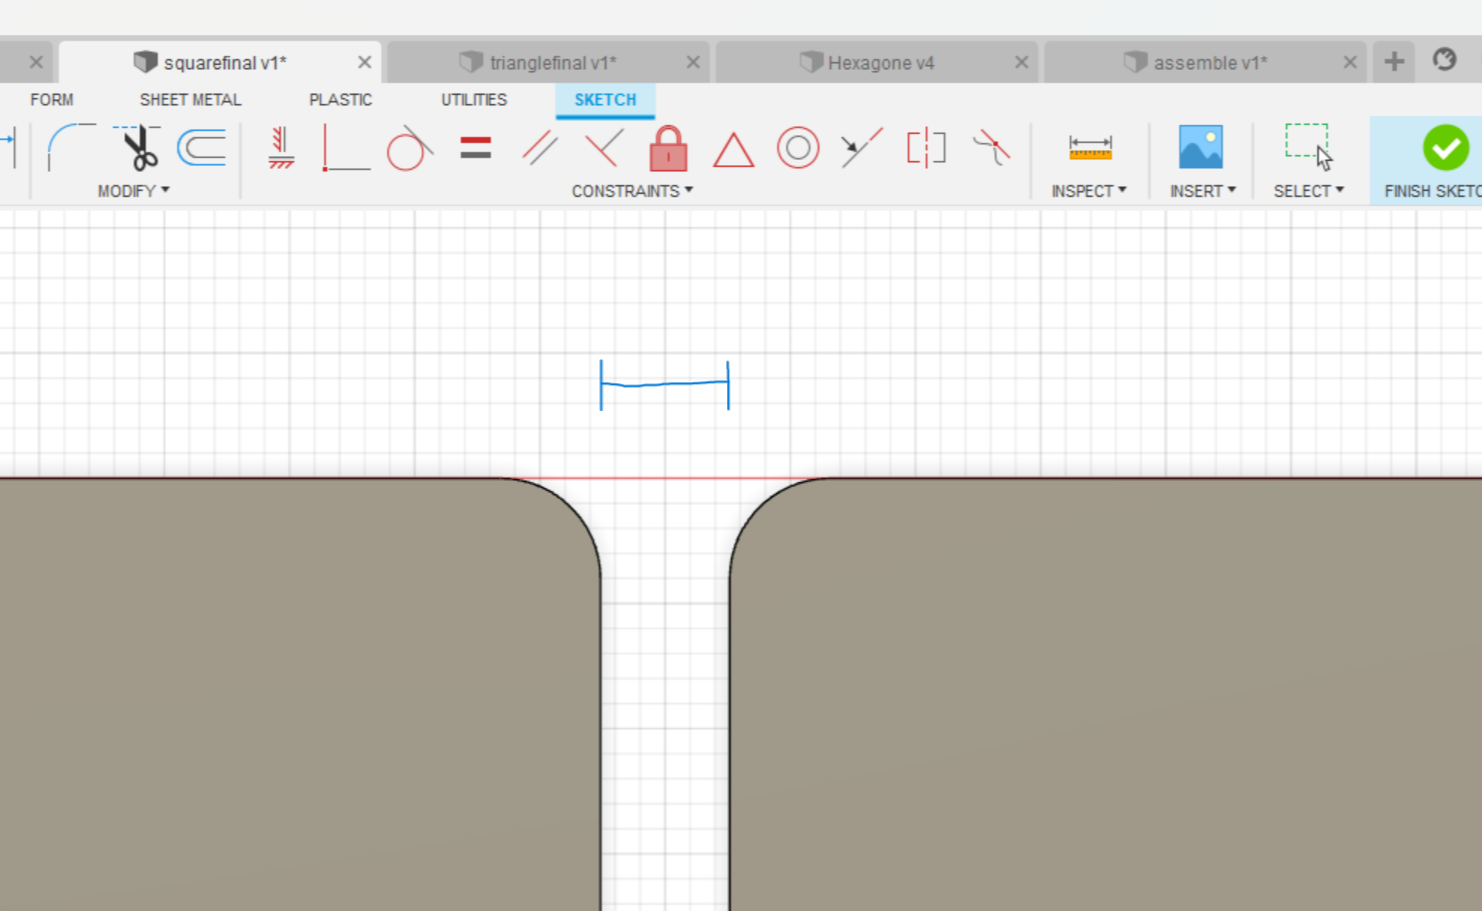
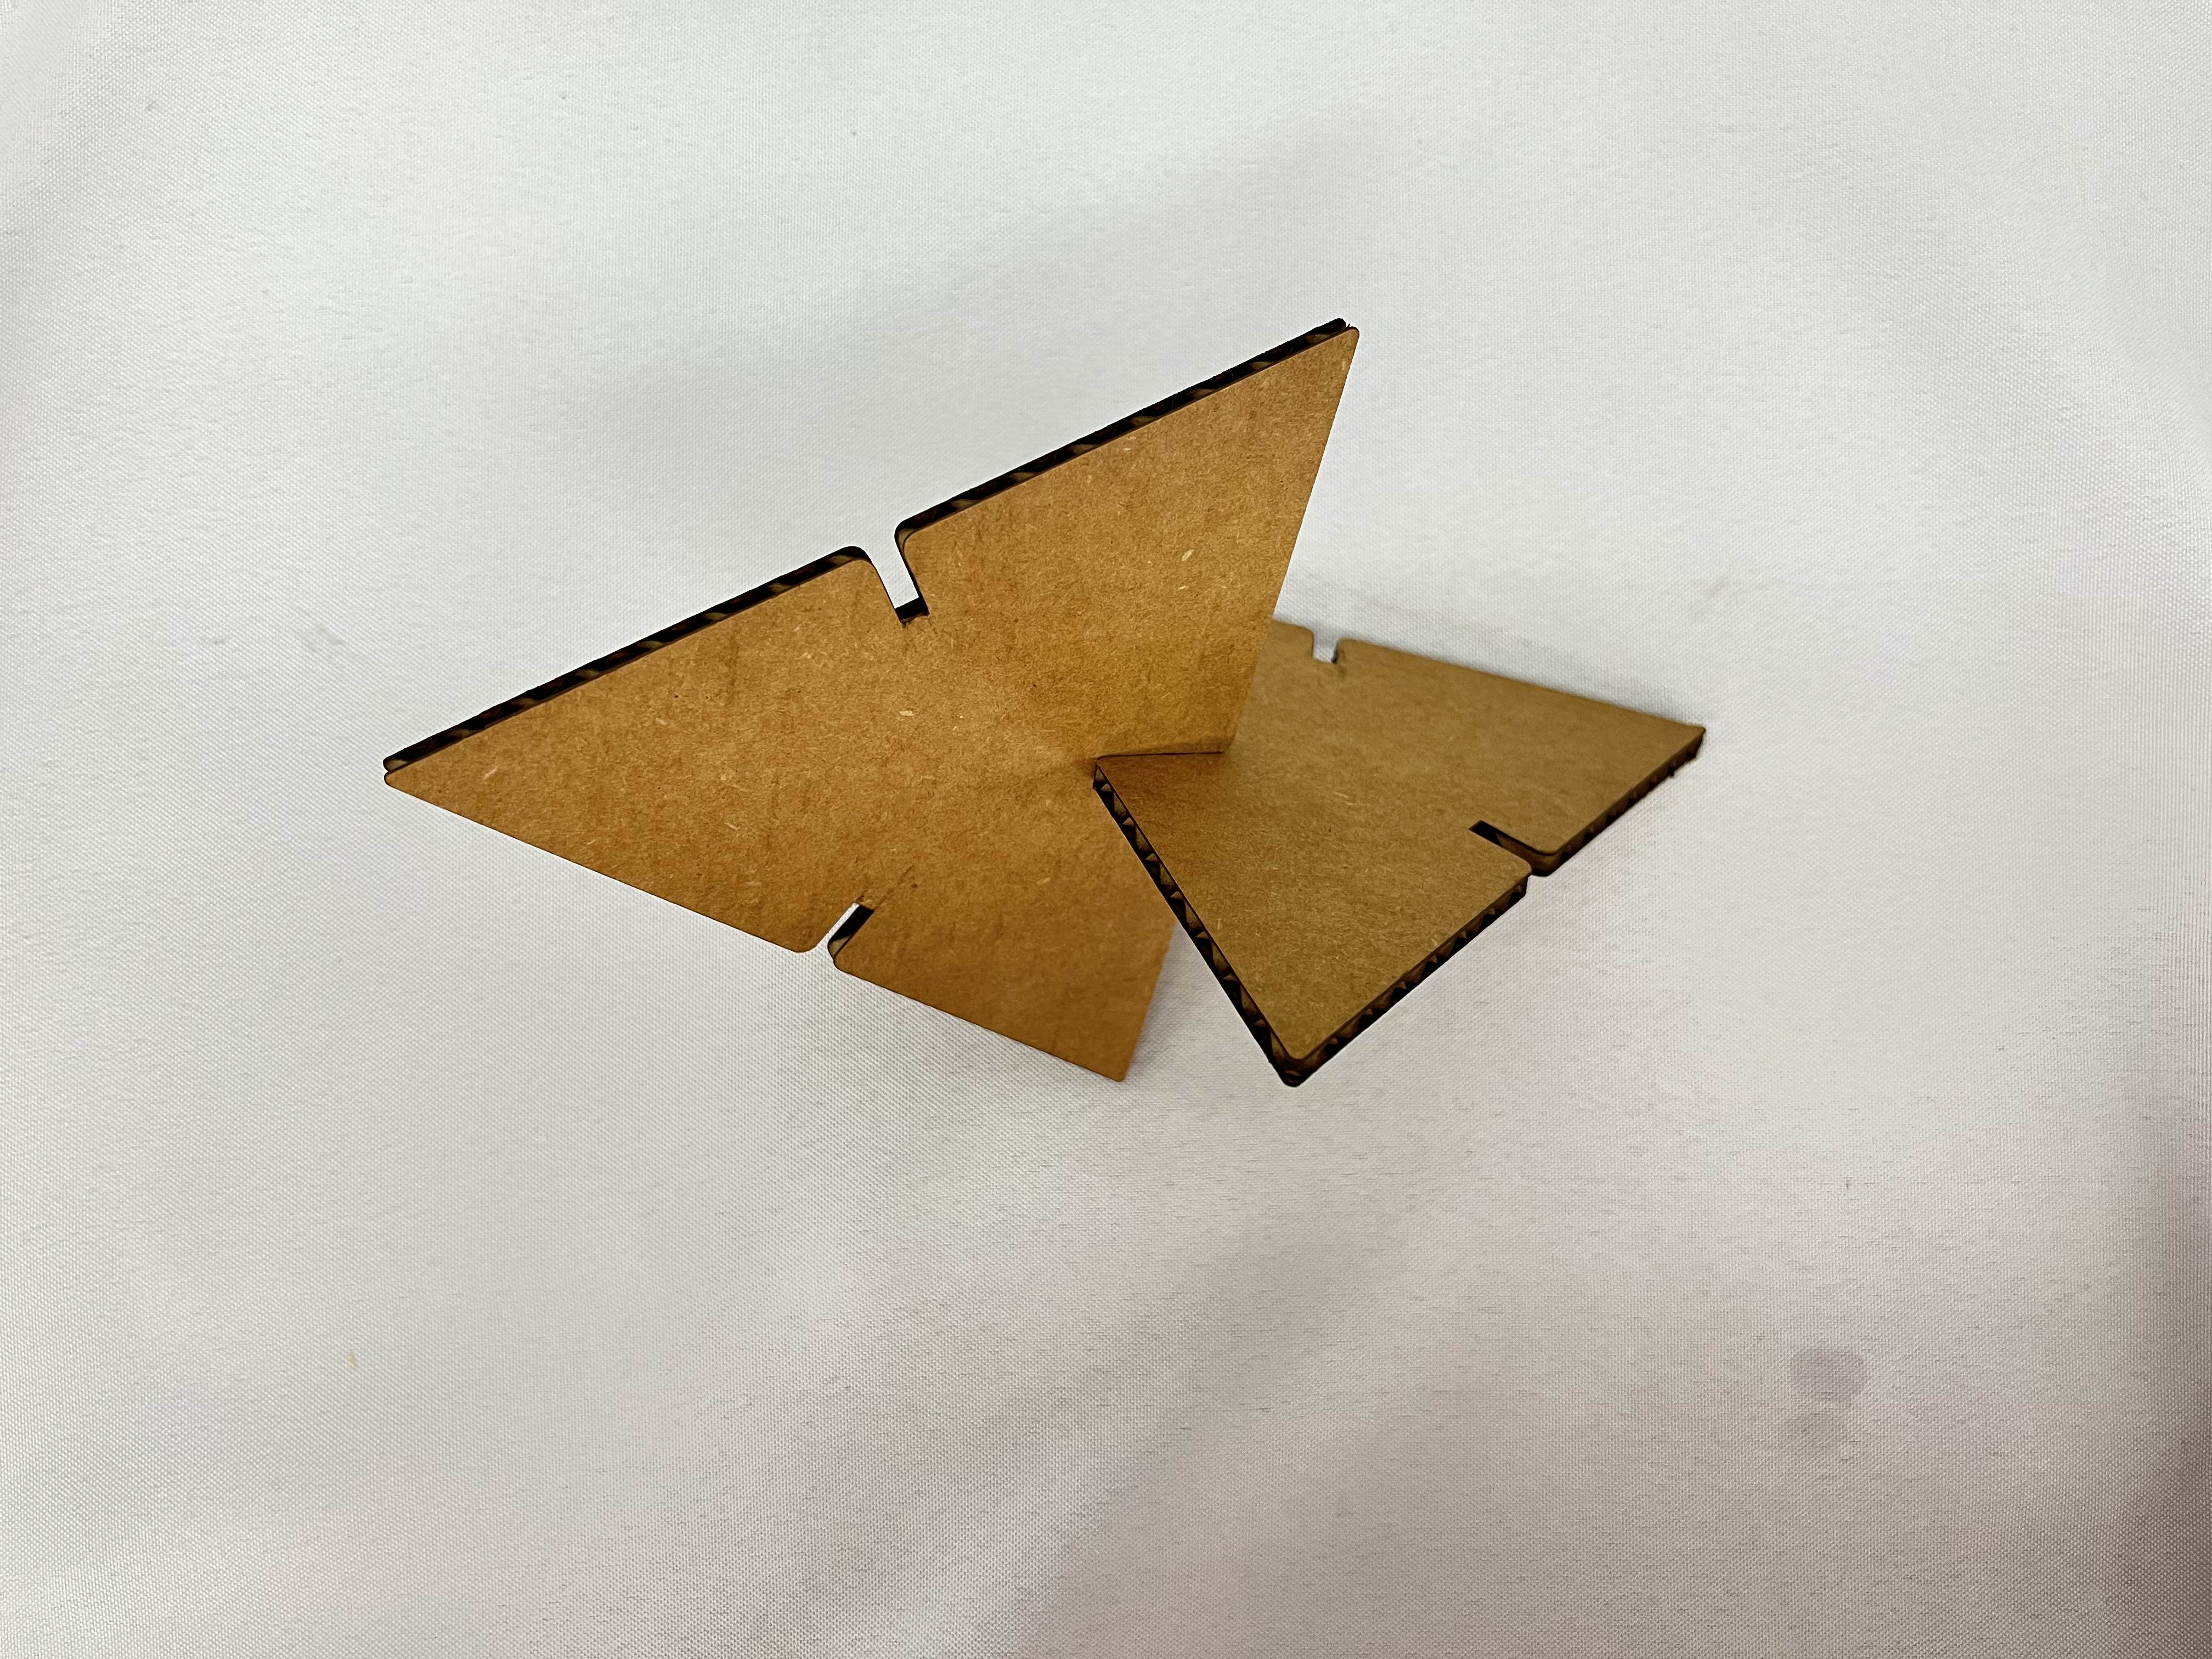
Final Attempt: The Modular Triangle
Remeasuring the kerf gave a more reasonable 0.365mm. I designed a 150mm equilateral triangle. Knowing the cardboard thickness was 4.4mm, I subtracted half the thickness (2.2mm) minus the kerf from the slot width to ensure a snug press-fit.

Laser Configuration Parameters
Kerf
0.365mm
Power (Min/Max)
65% / 75%
Speed
20mm/s
Material Thickness
4.4mm