CNC Milling & Molding
Automating control of machine tools: From "speeds and feeds" to casting metal artifacts.
CNC Milling
Subtractive manufacturing using Roland and ShopBot mills.
Design Iteration
I explored two design approaches for a nameplate: cursive and script. While cursive was aesthetically pleasing, the complexity of the paths would have resulted in a rough, pixelated finish. I opted for the script design for cleaner toolpaths.
.png)
Complex Cursive (Discarded)
.png)
Script Design (Selected)
Roland Mill & ShopBot
I utilized MIT Mods to generate the G-code for the Roland SRM-20. Later, I scaled up to the ShopBot to create a refined nameplate.


Calibration: The Paper Test
Calibrating the Z-axis is critical. I used the "paper test"—lowering the mill until it traps a piece of paper with slight friction—to ensure perfect zeroing without damaging the bed.


Molding & Casting
From silicone molds to bismuth alloy artifacts.
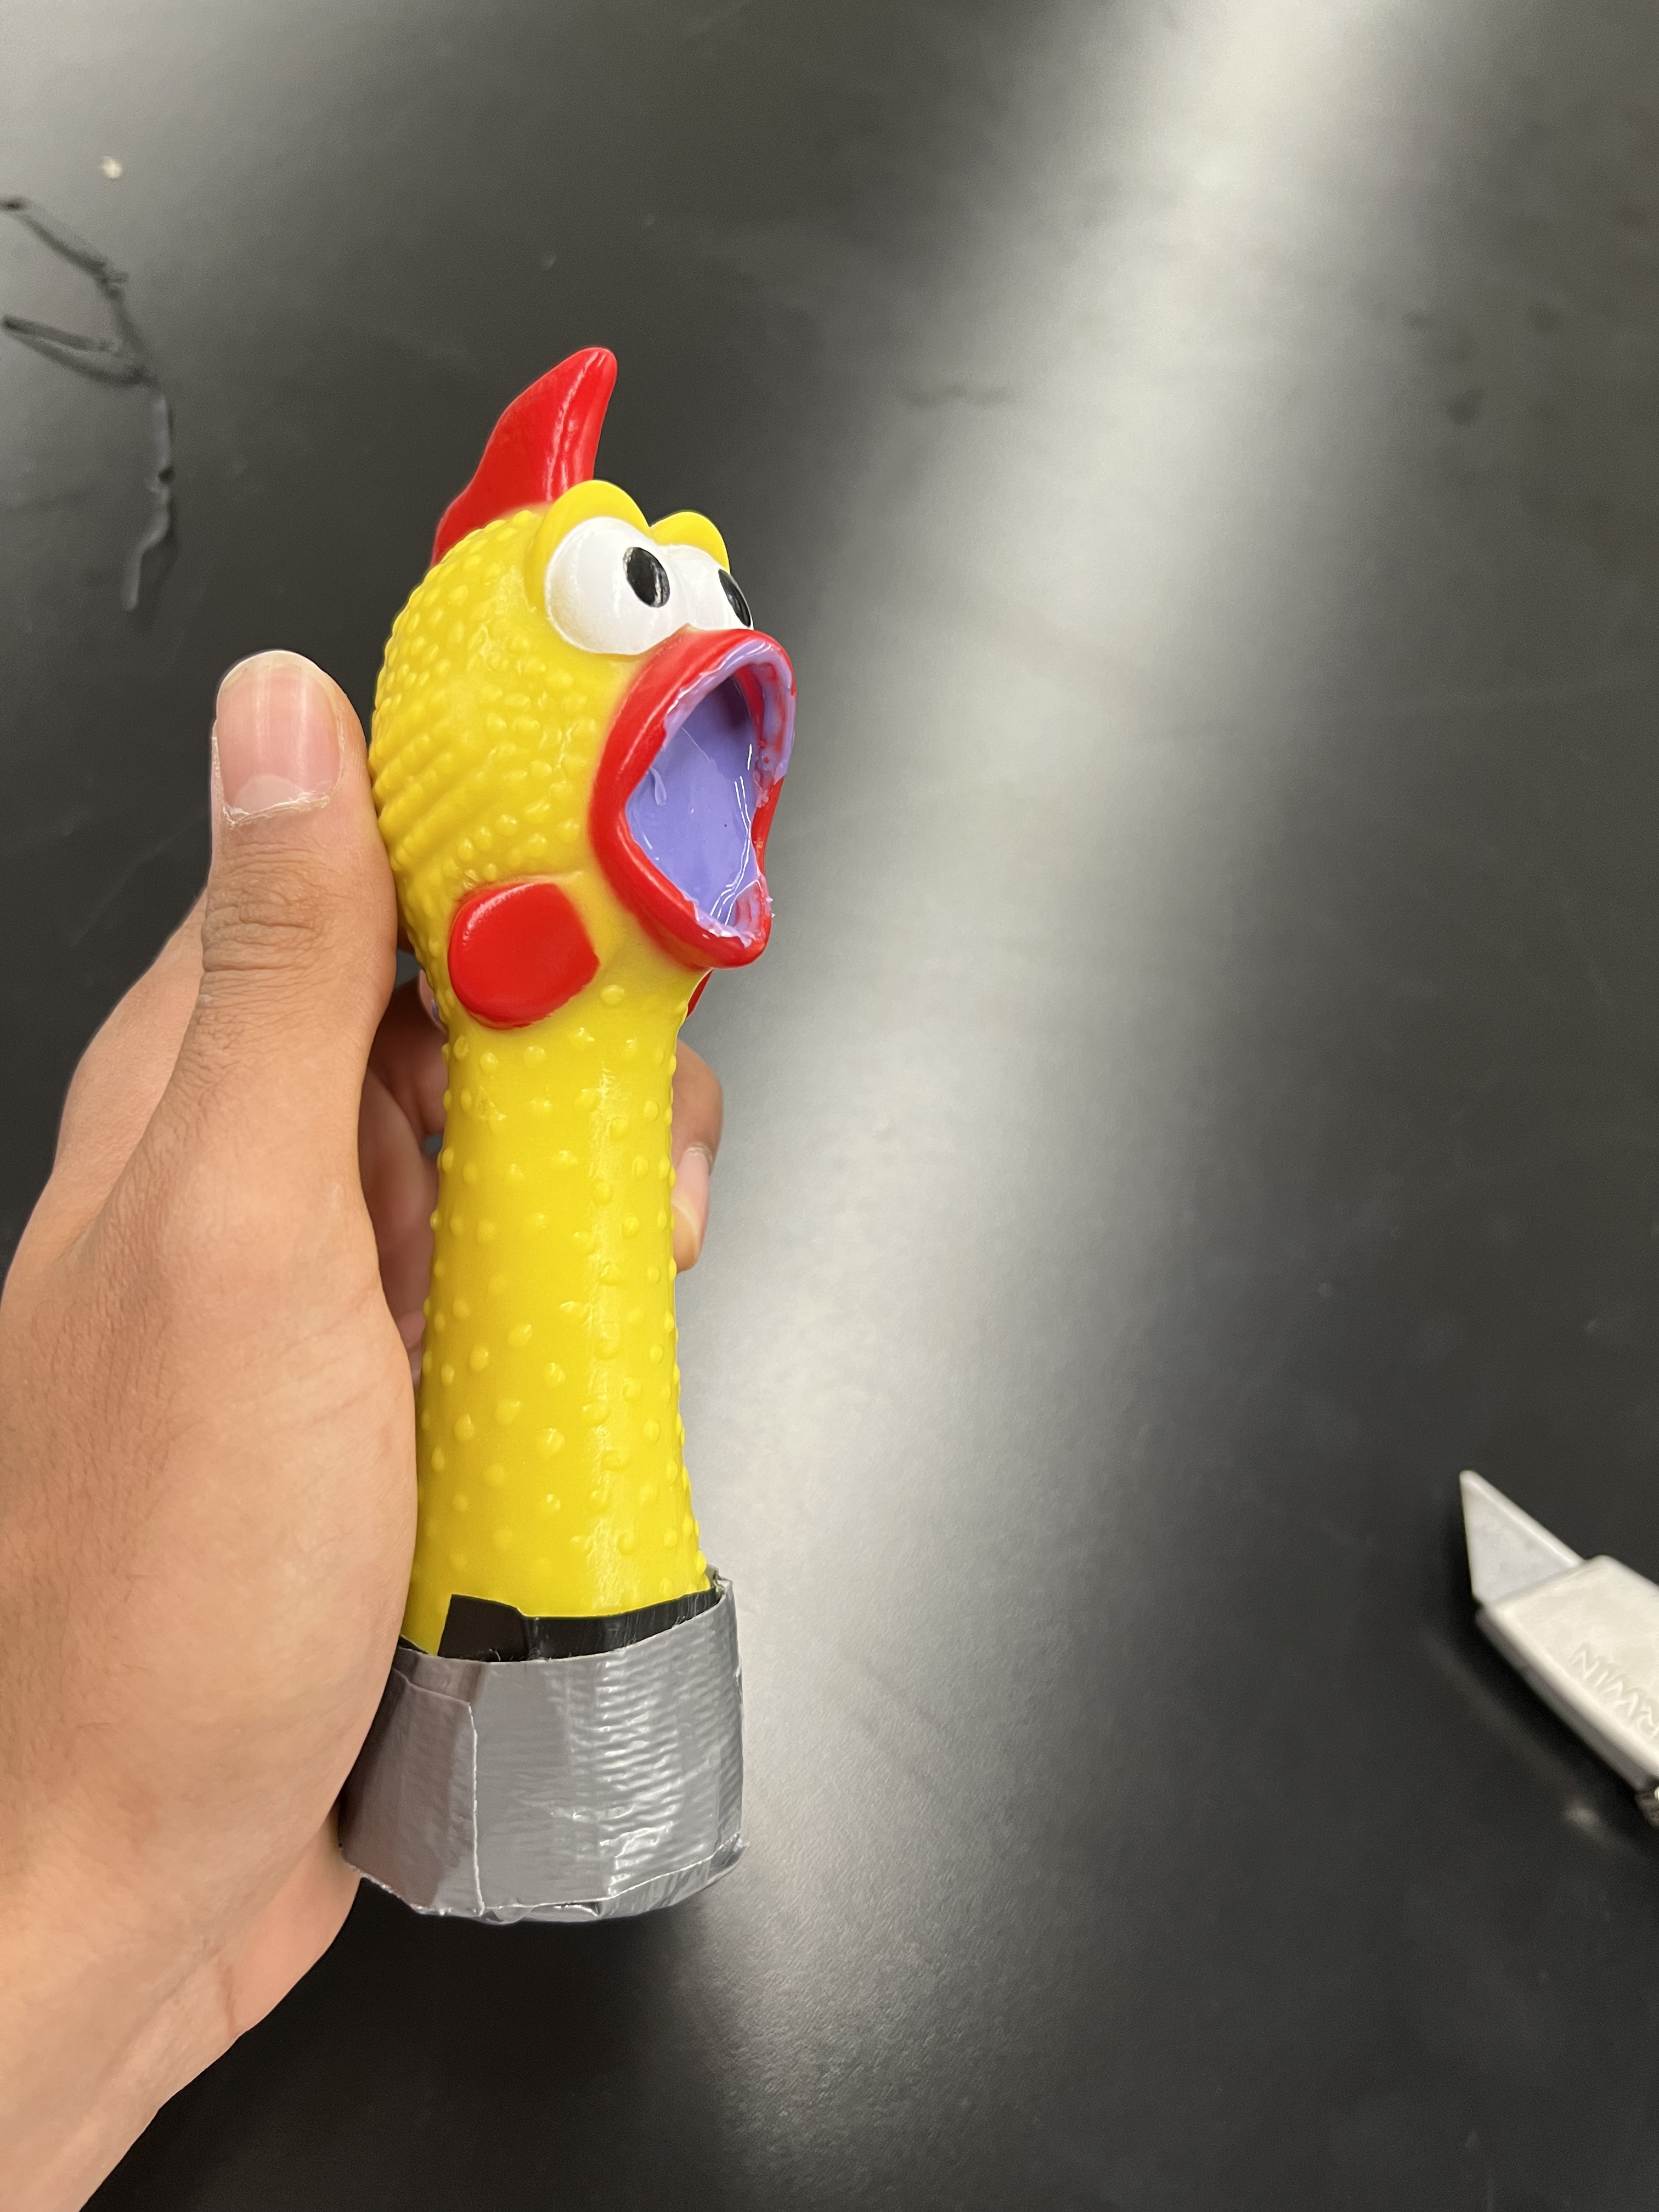
The Subject
We discovered a rubber chicken in the lab. The challenge? It was hollow. To mold it successfully, I first had to fill the internal void with a preliminary silicone pour to prevent it from collapsing during the main mold making.
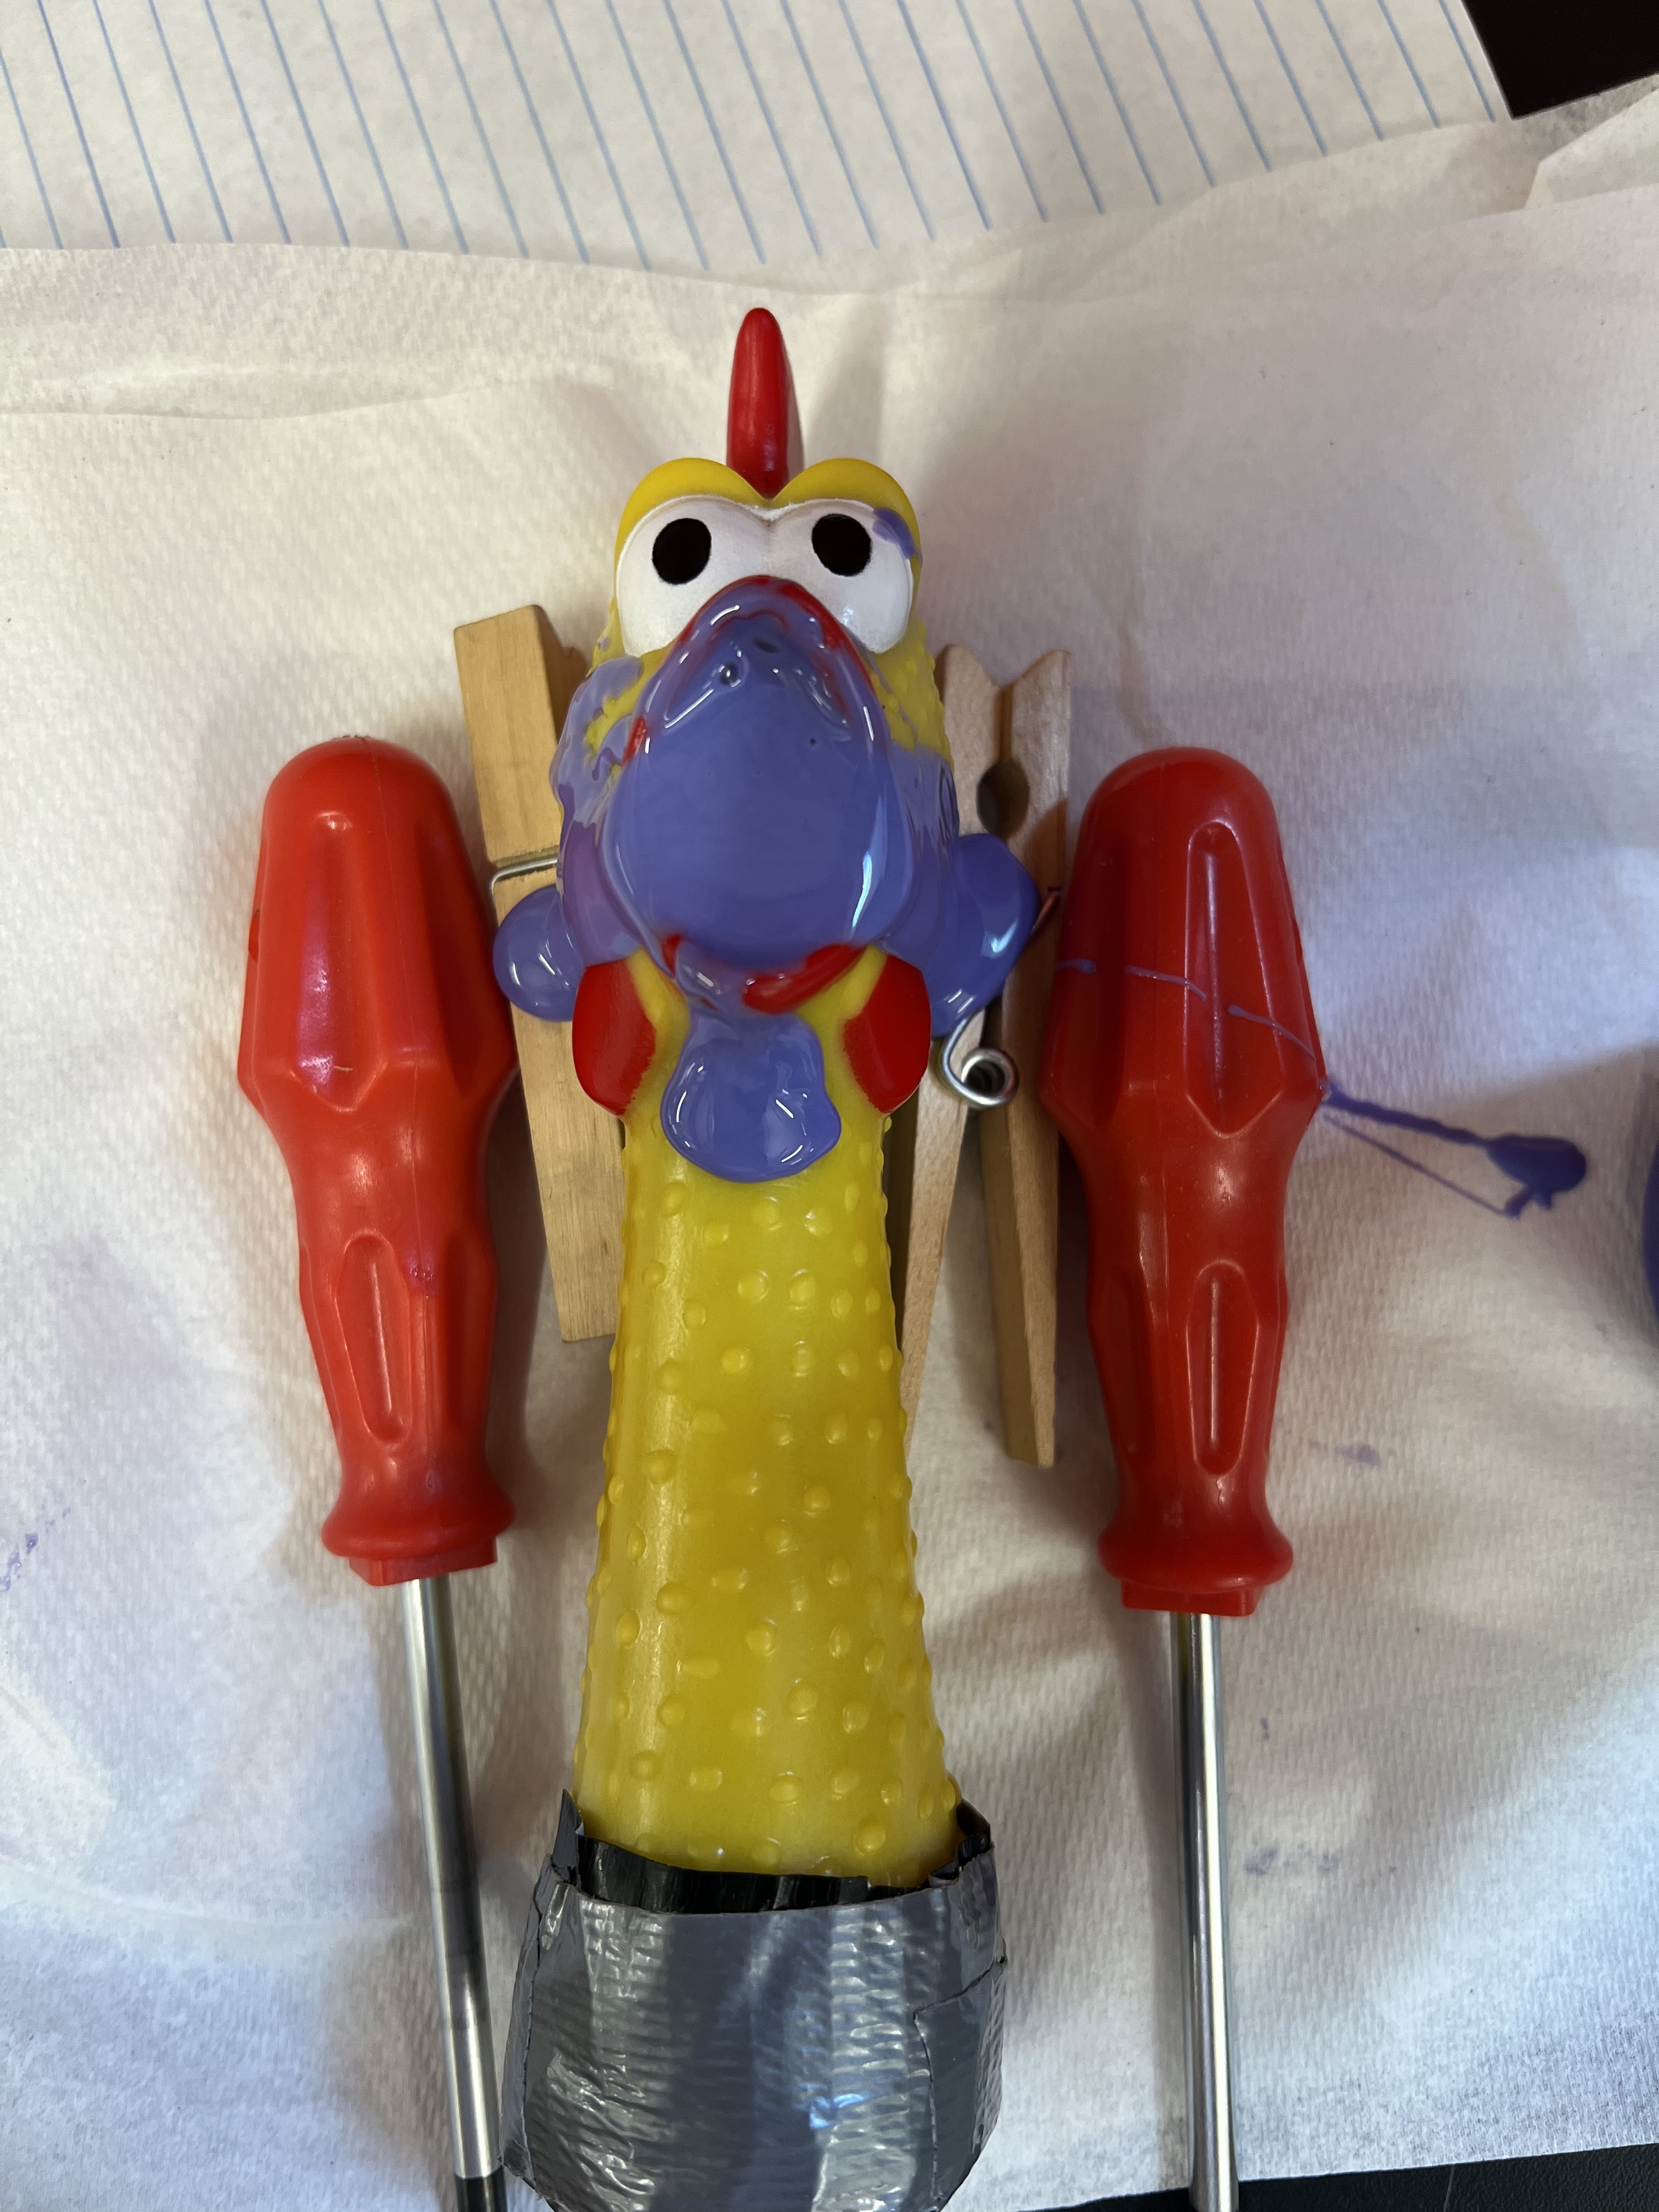
The Process
Mixing Solution A and B at a 1:1 ratio. We suspended the chicken in a beaker using ropes to counteract buoyancy before pouring the main silicone body.
The Metal Casting
Lesson Learned: Use mold release! Getting the silicone out of the beaker was a struggle.
For the cast, we used Bismuth alloy. I poured it too hot initially, which melted through the mold and caused a leak. After reinforcement and temperature control, we achieved the final metal artifact.
