The Build Process
A step-by-step look at the iterations, failures, and solutions encountered during 7 weeks of digital fabrication.
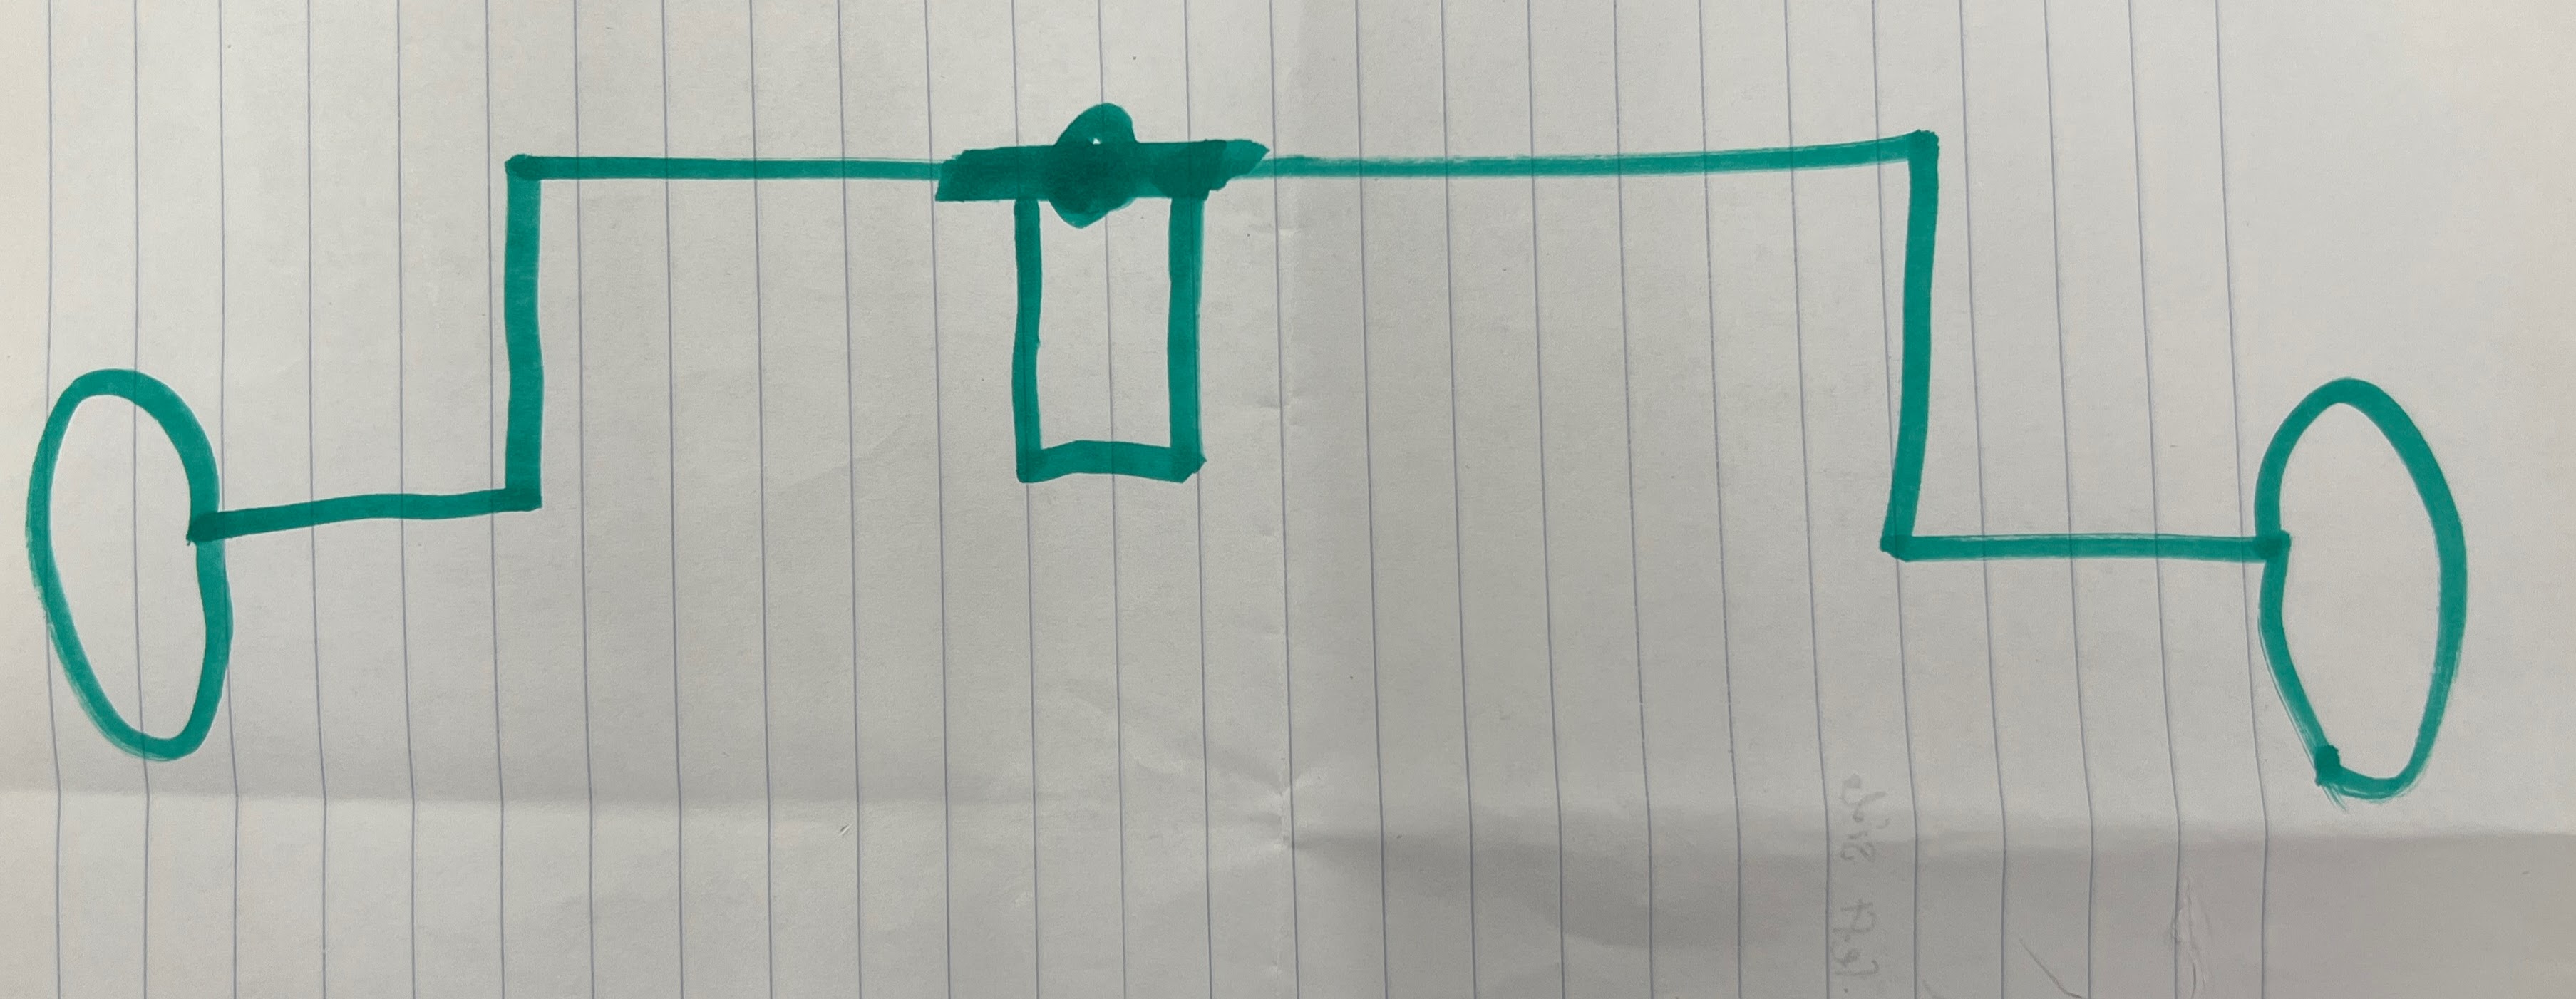
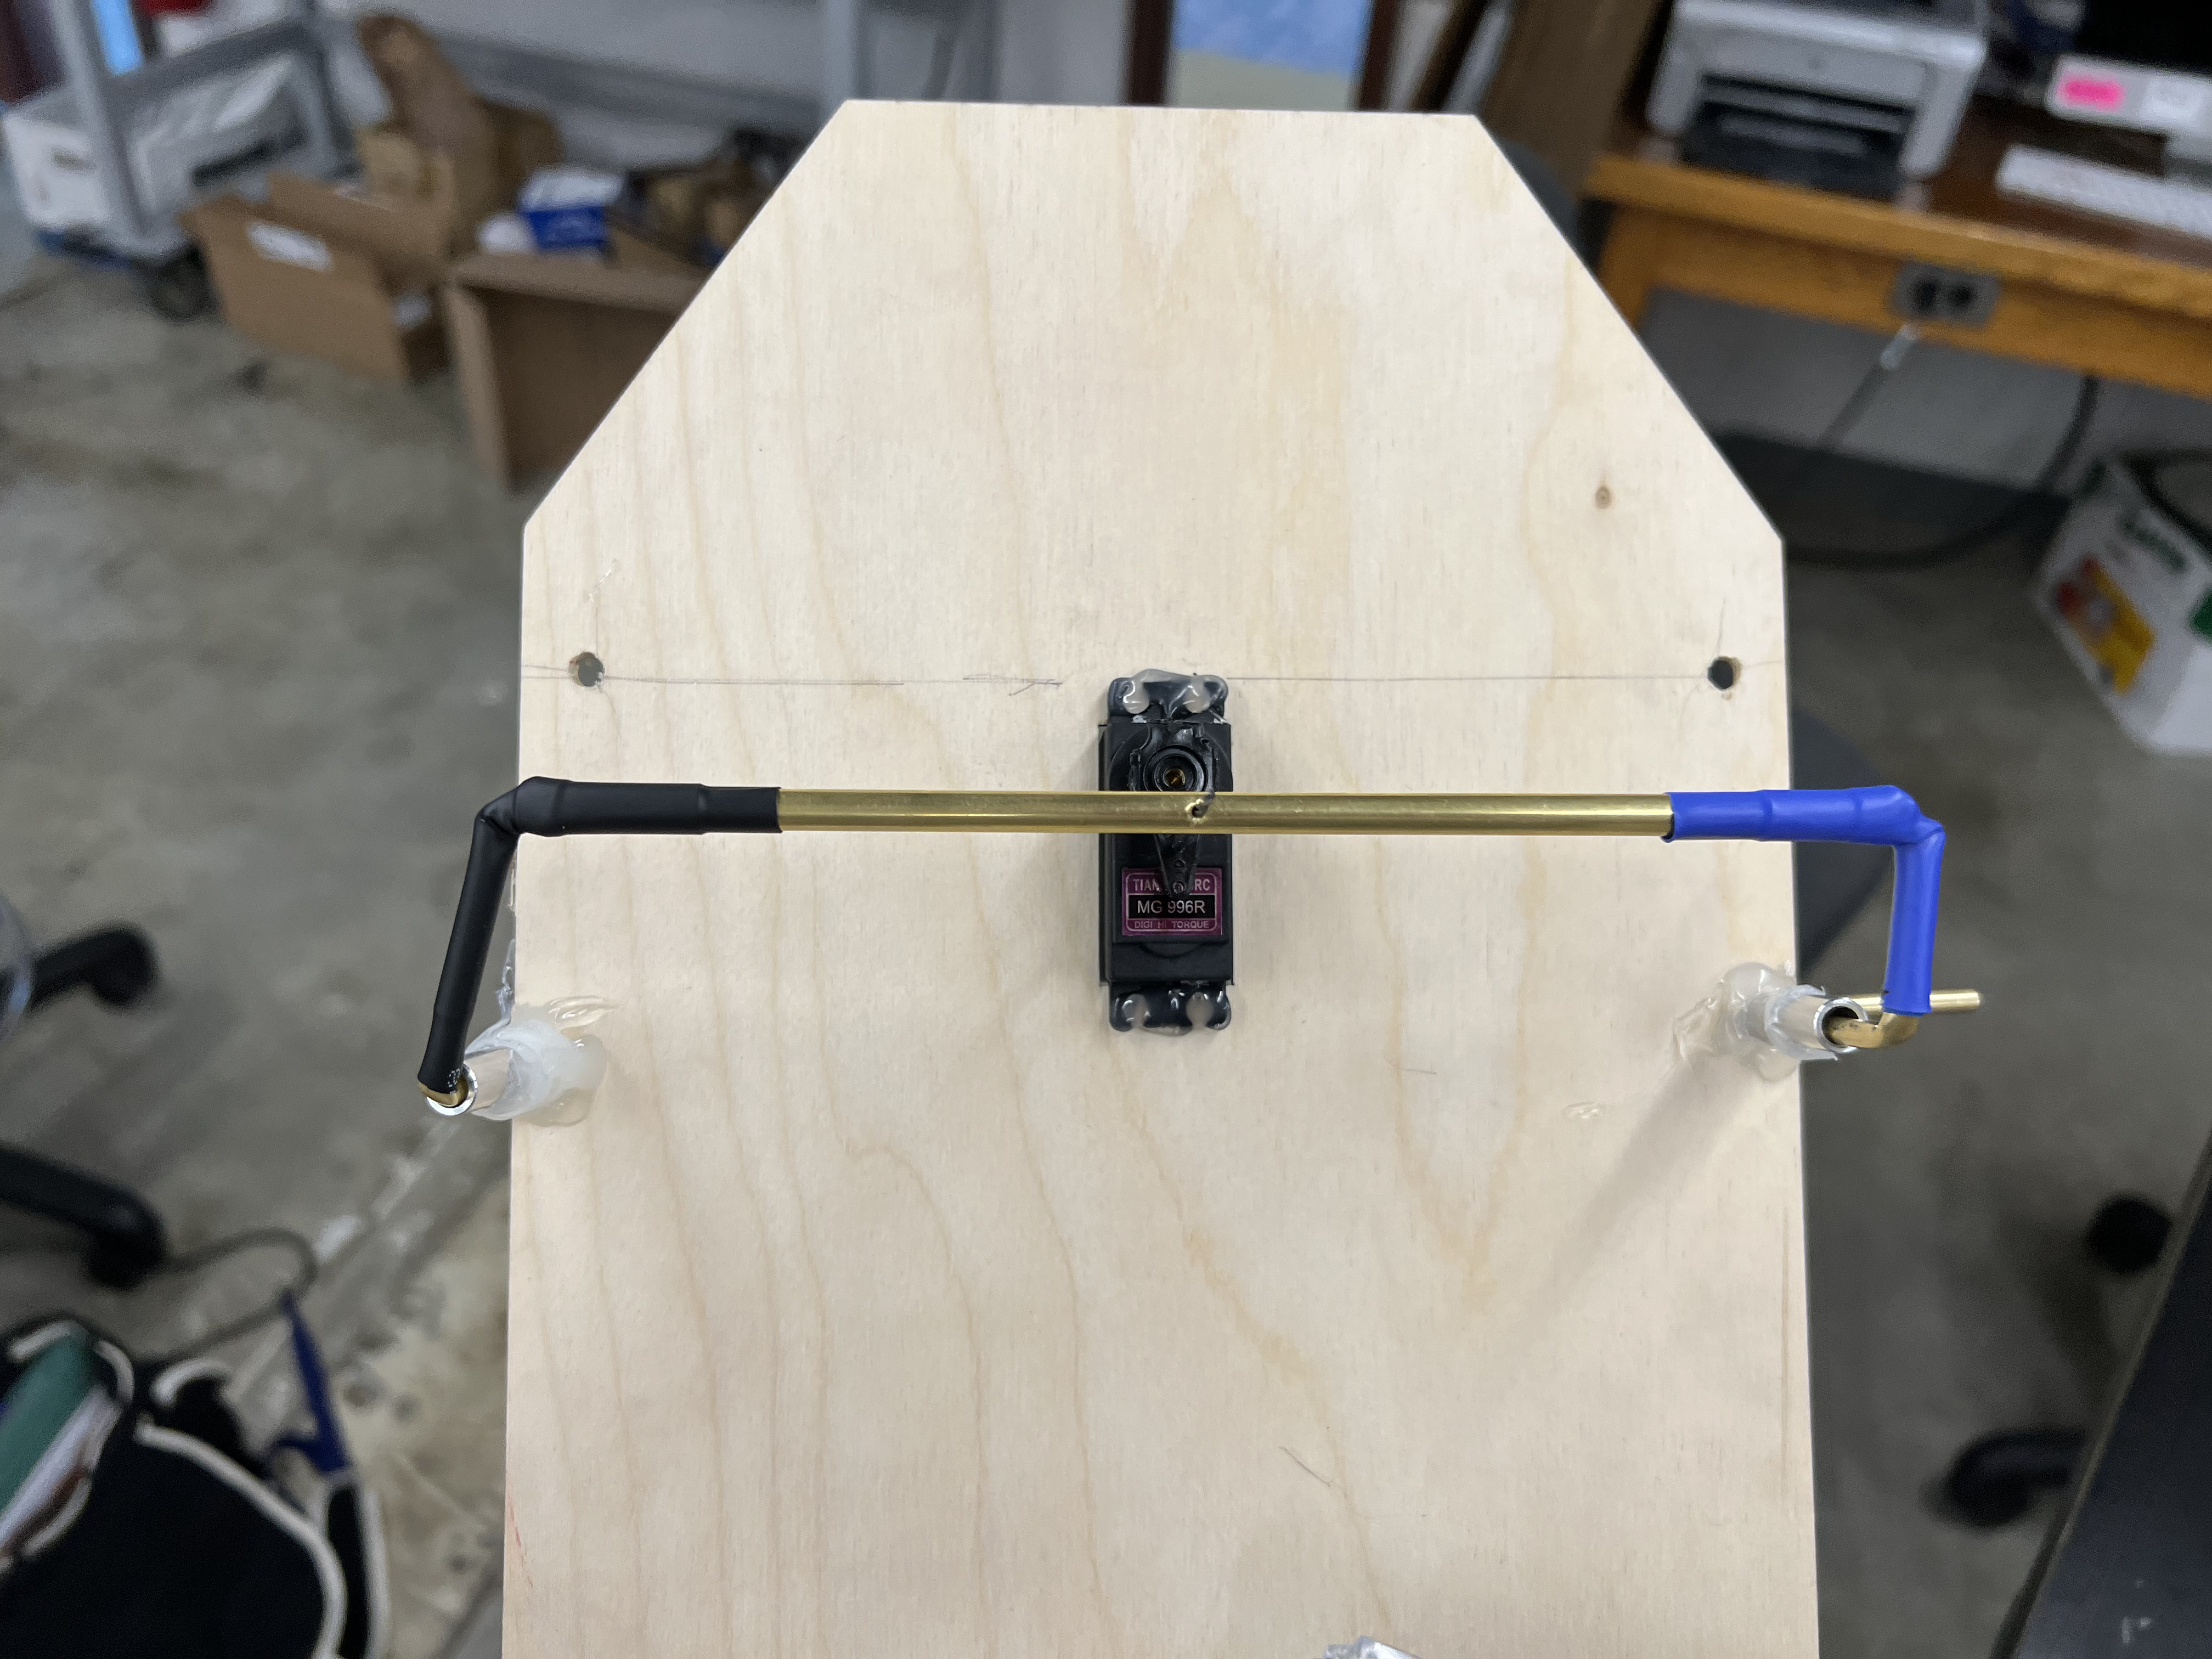
The Steering Failure
I initially attempted a steering column using a servo motor connected to wheels to turn the whole vehicle. A bar from the servo connected perpendicularly via heat shrinks.
Result: Complete failure. The alignment was crooked, and because servos generate rotational (not linear) motion, the turning radius was awful. I pivoted to a syncro-steering (tank drive) system instead.
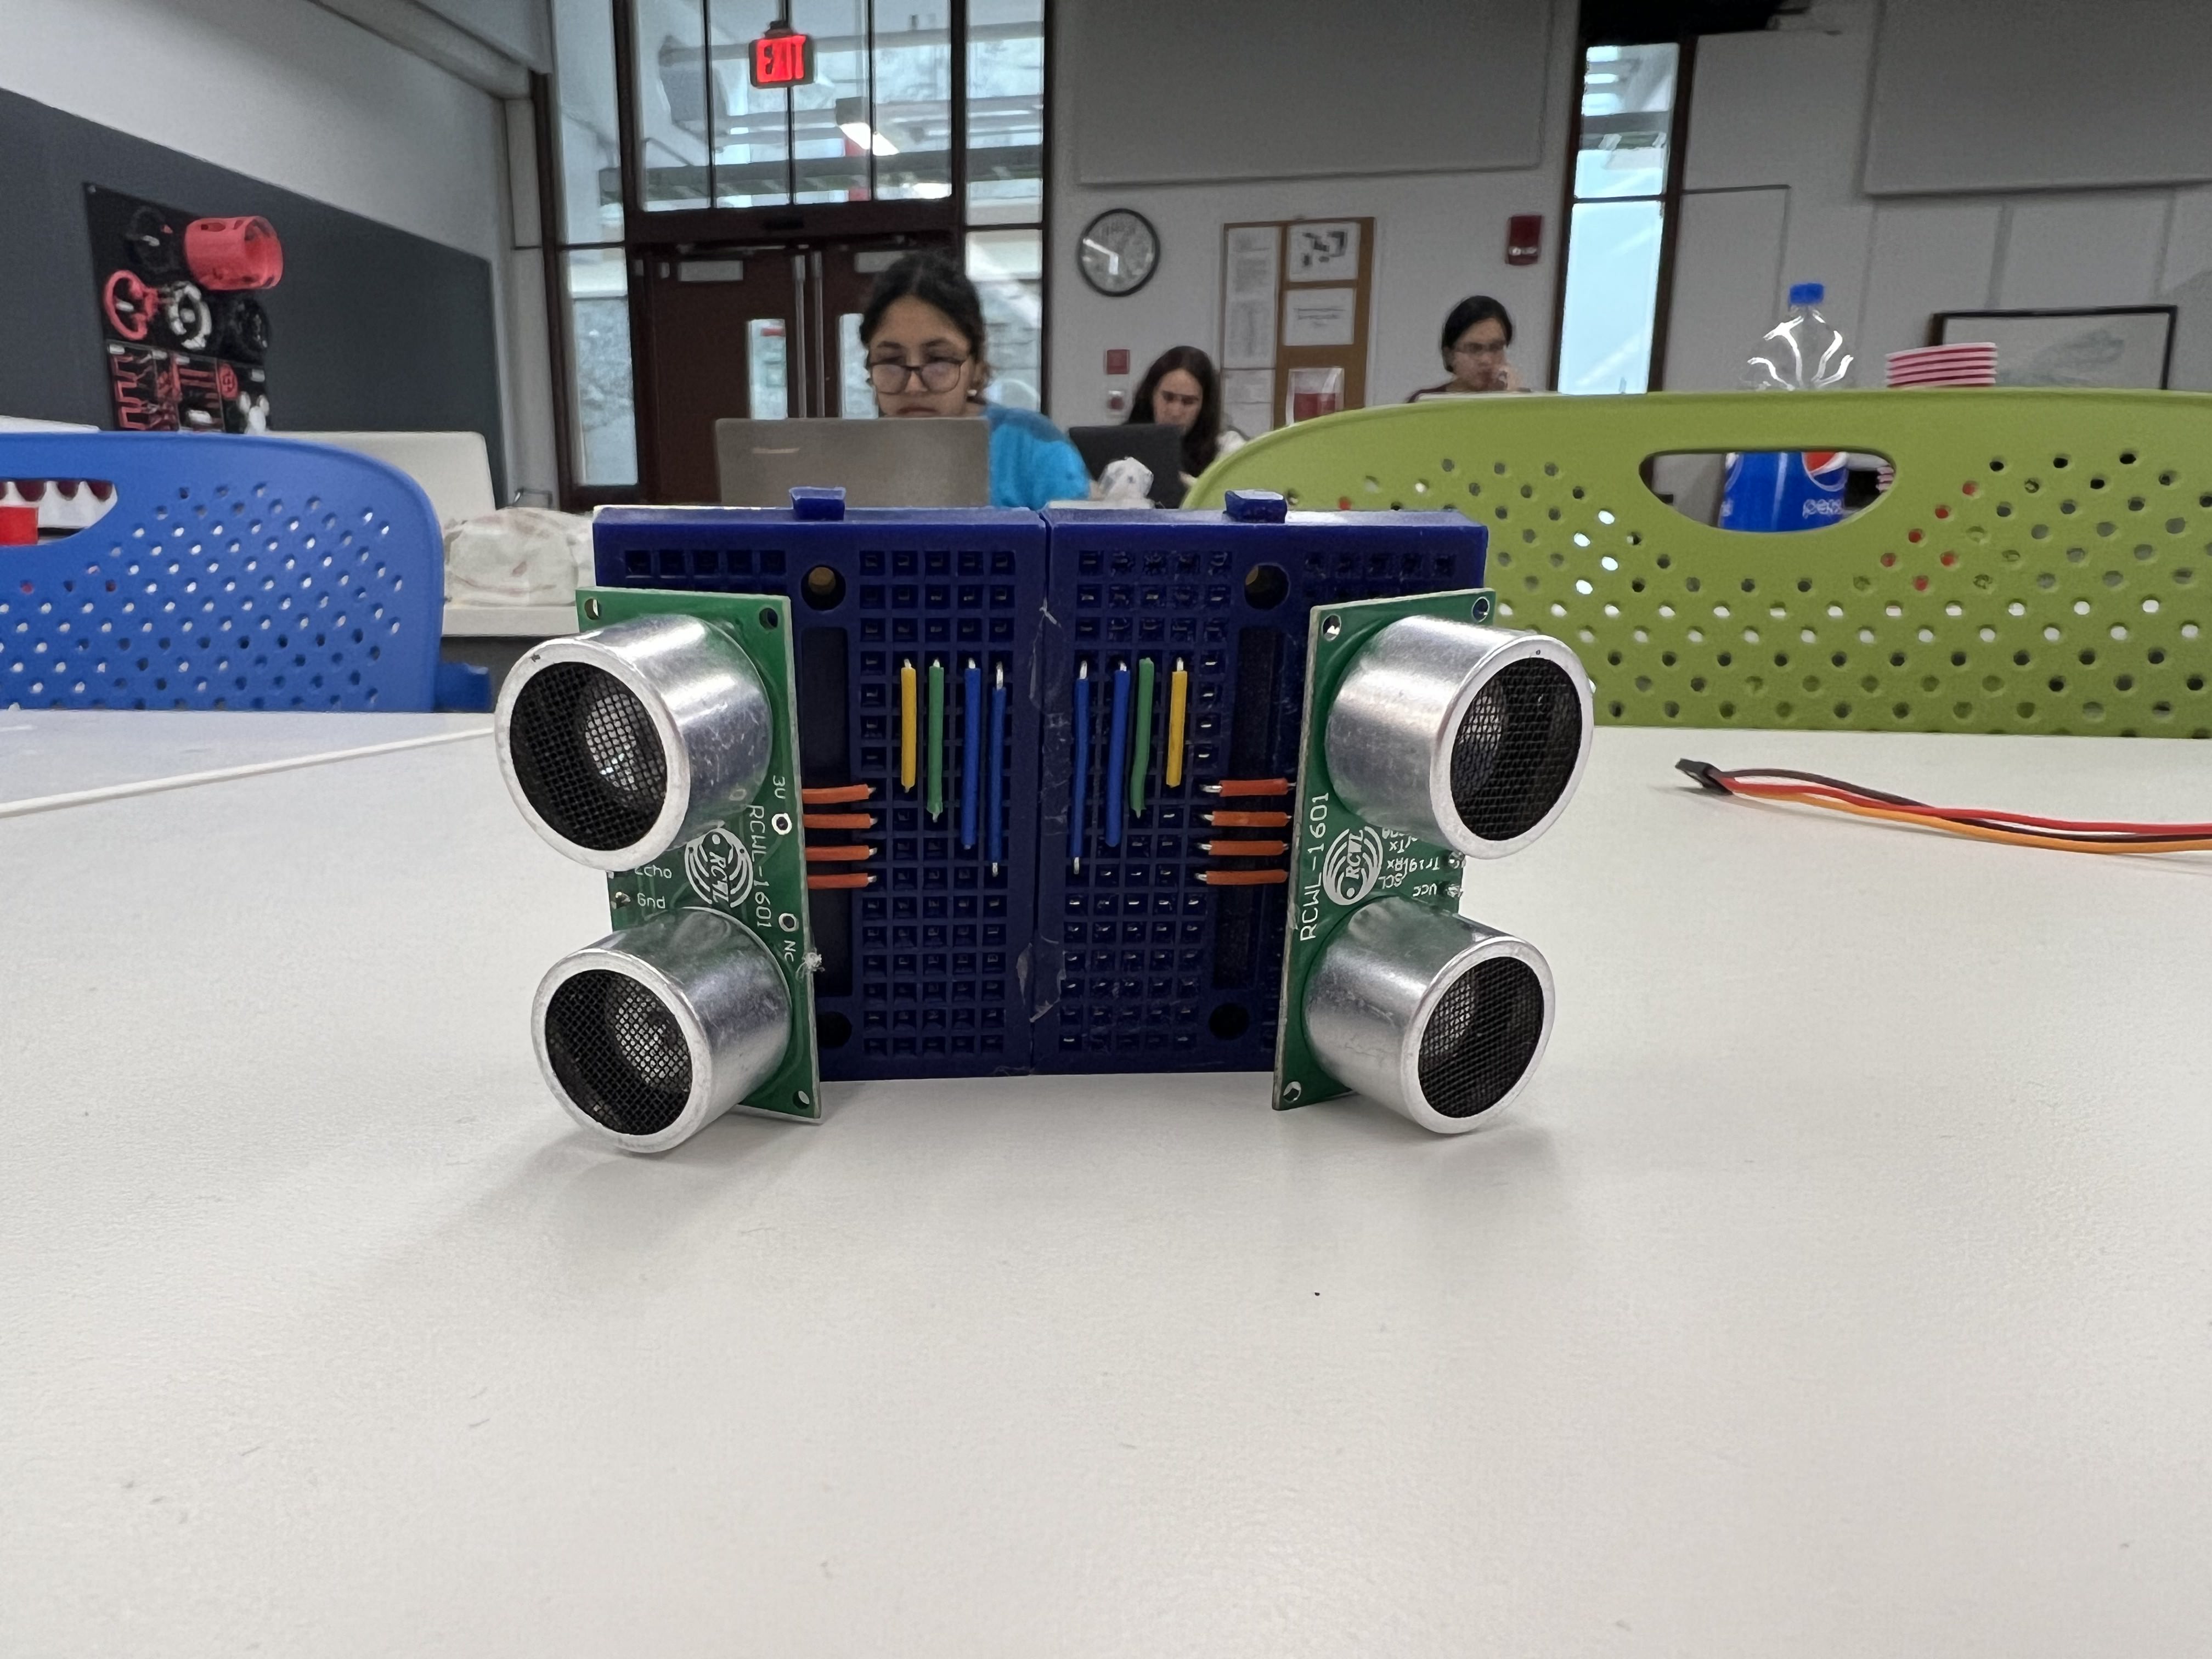
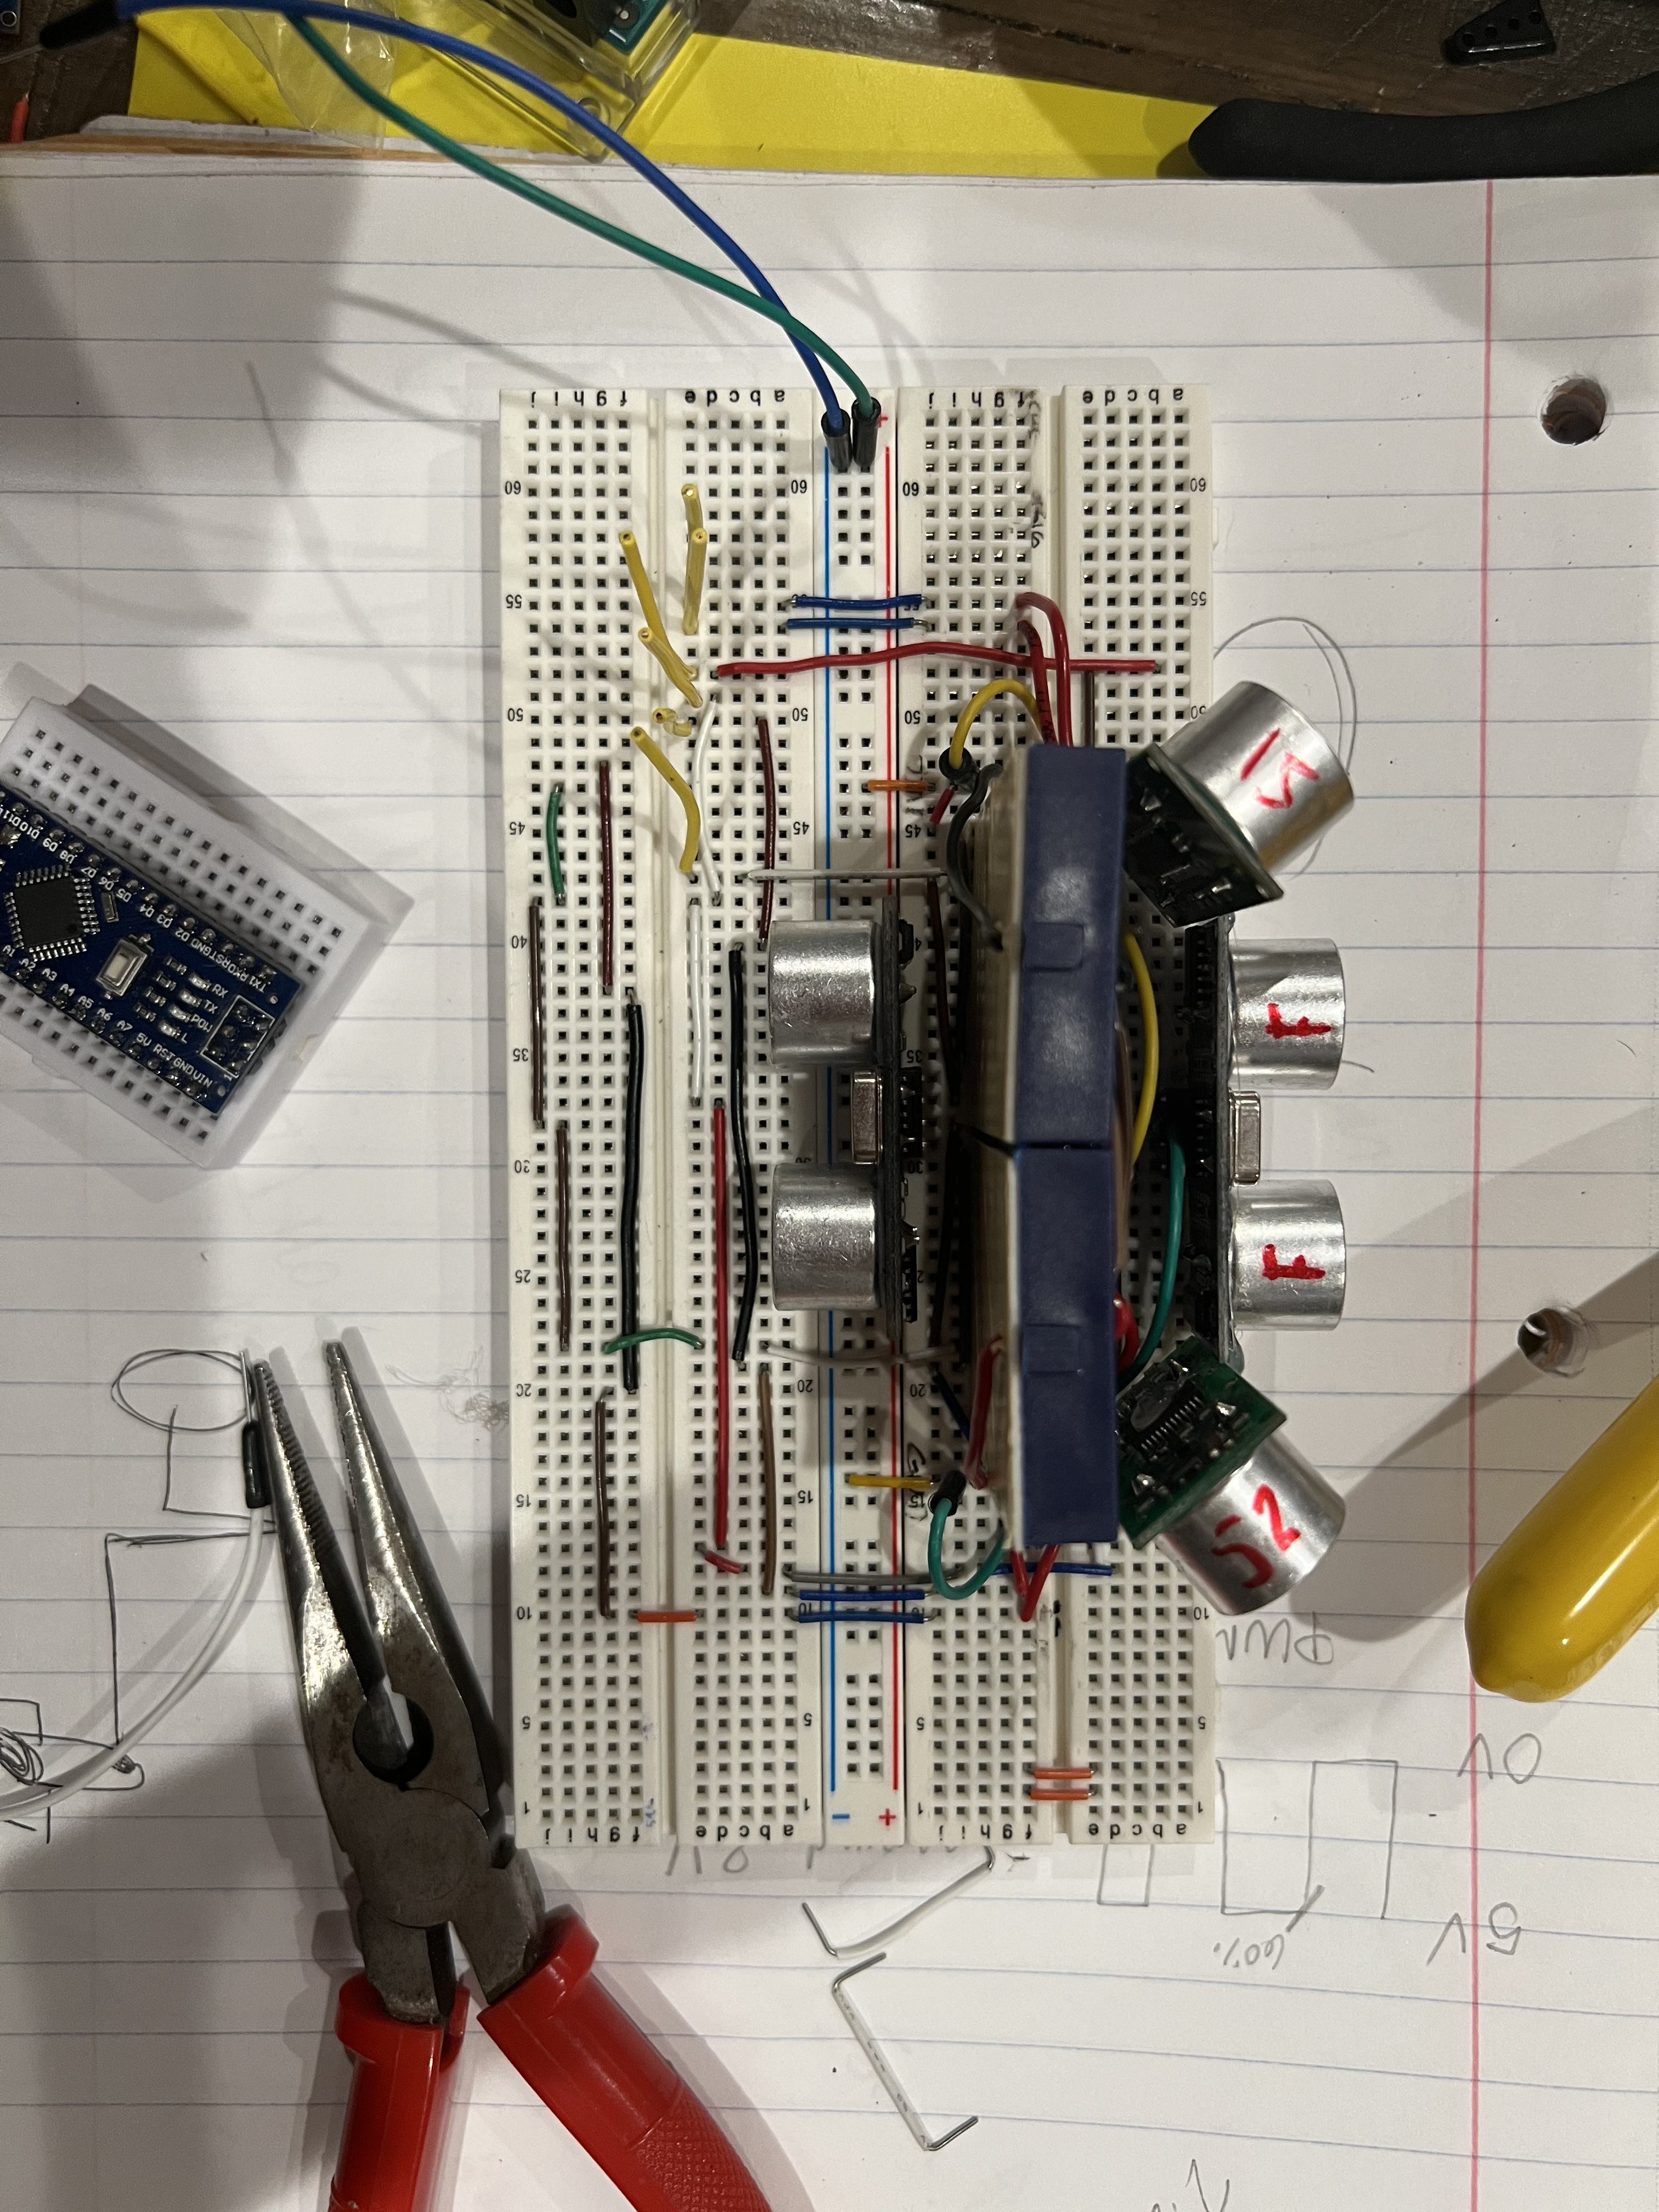
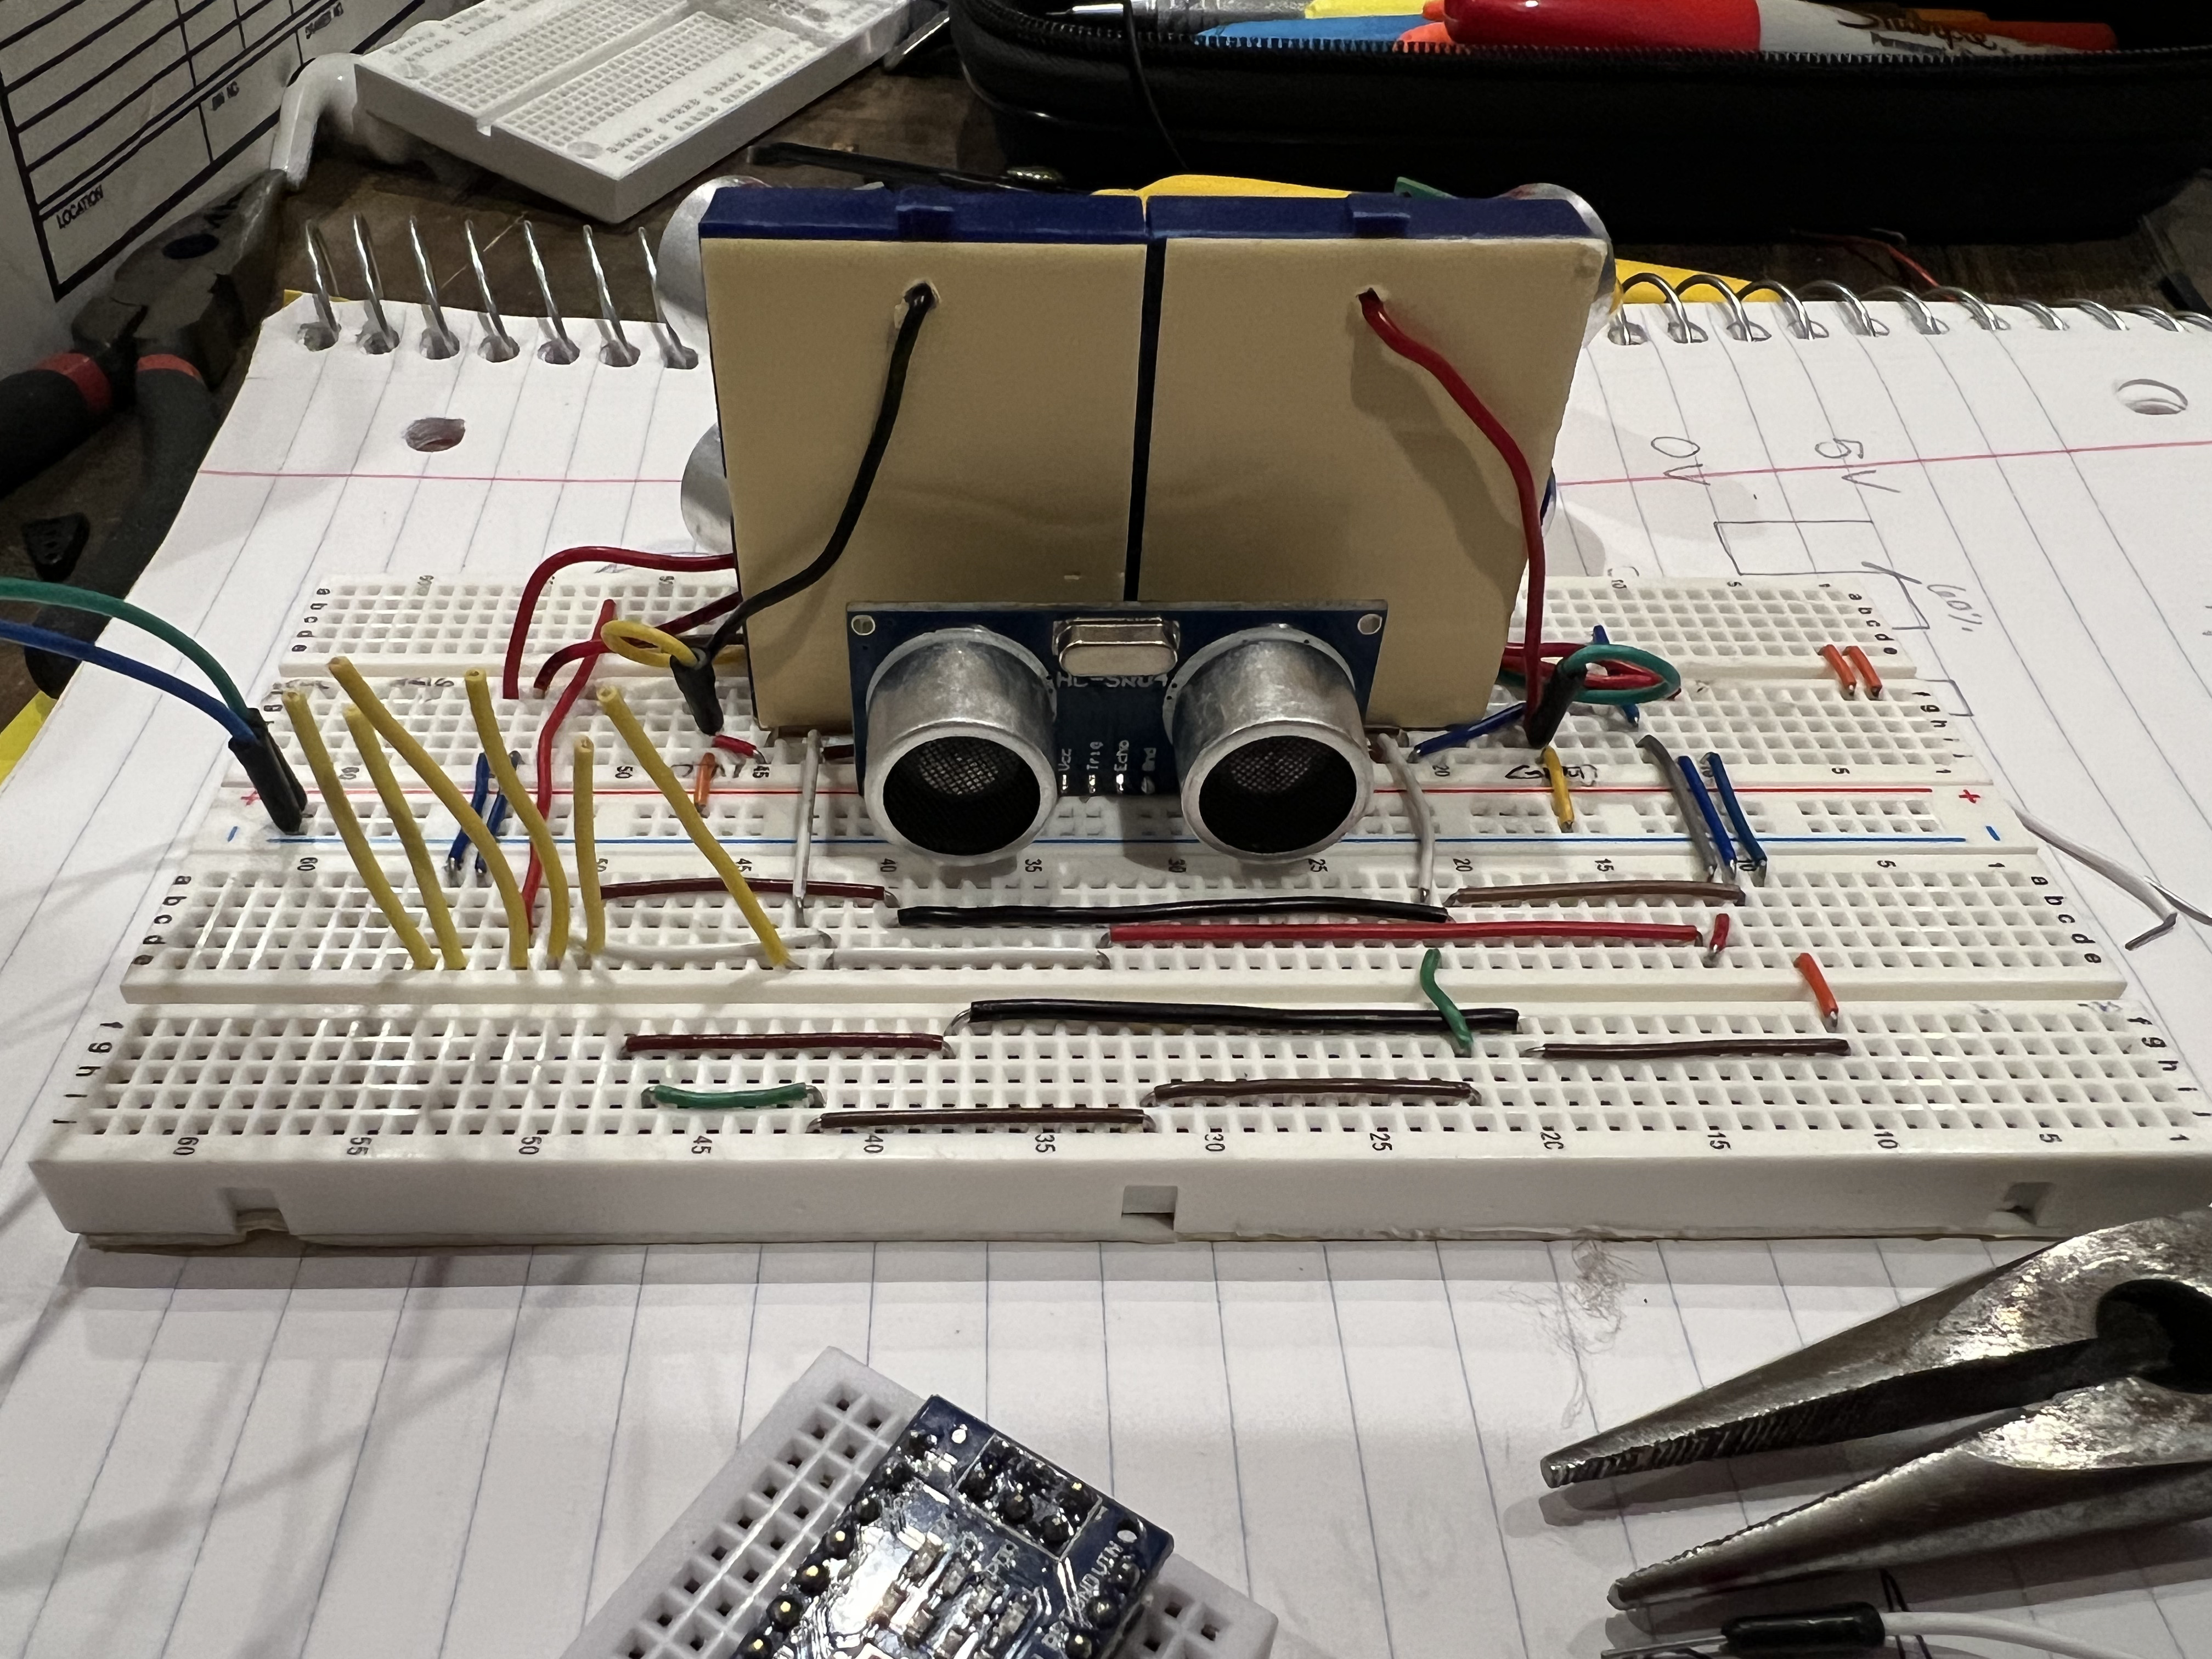
Ultrasonic Array
Since HC-SR04 sensors have a narrow detection range (~15°), I angled them: one pointed forward, and side sensors angled 15° outward to cover blind spots.
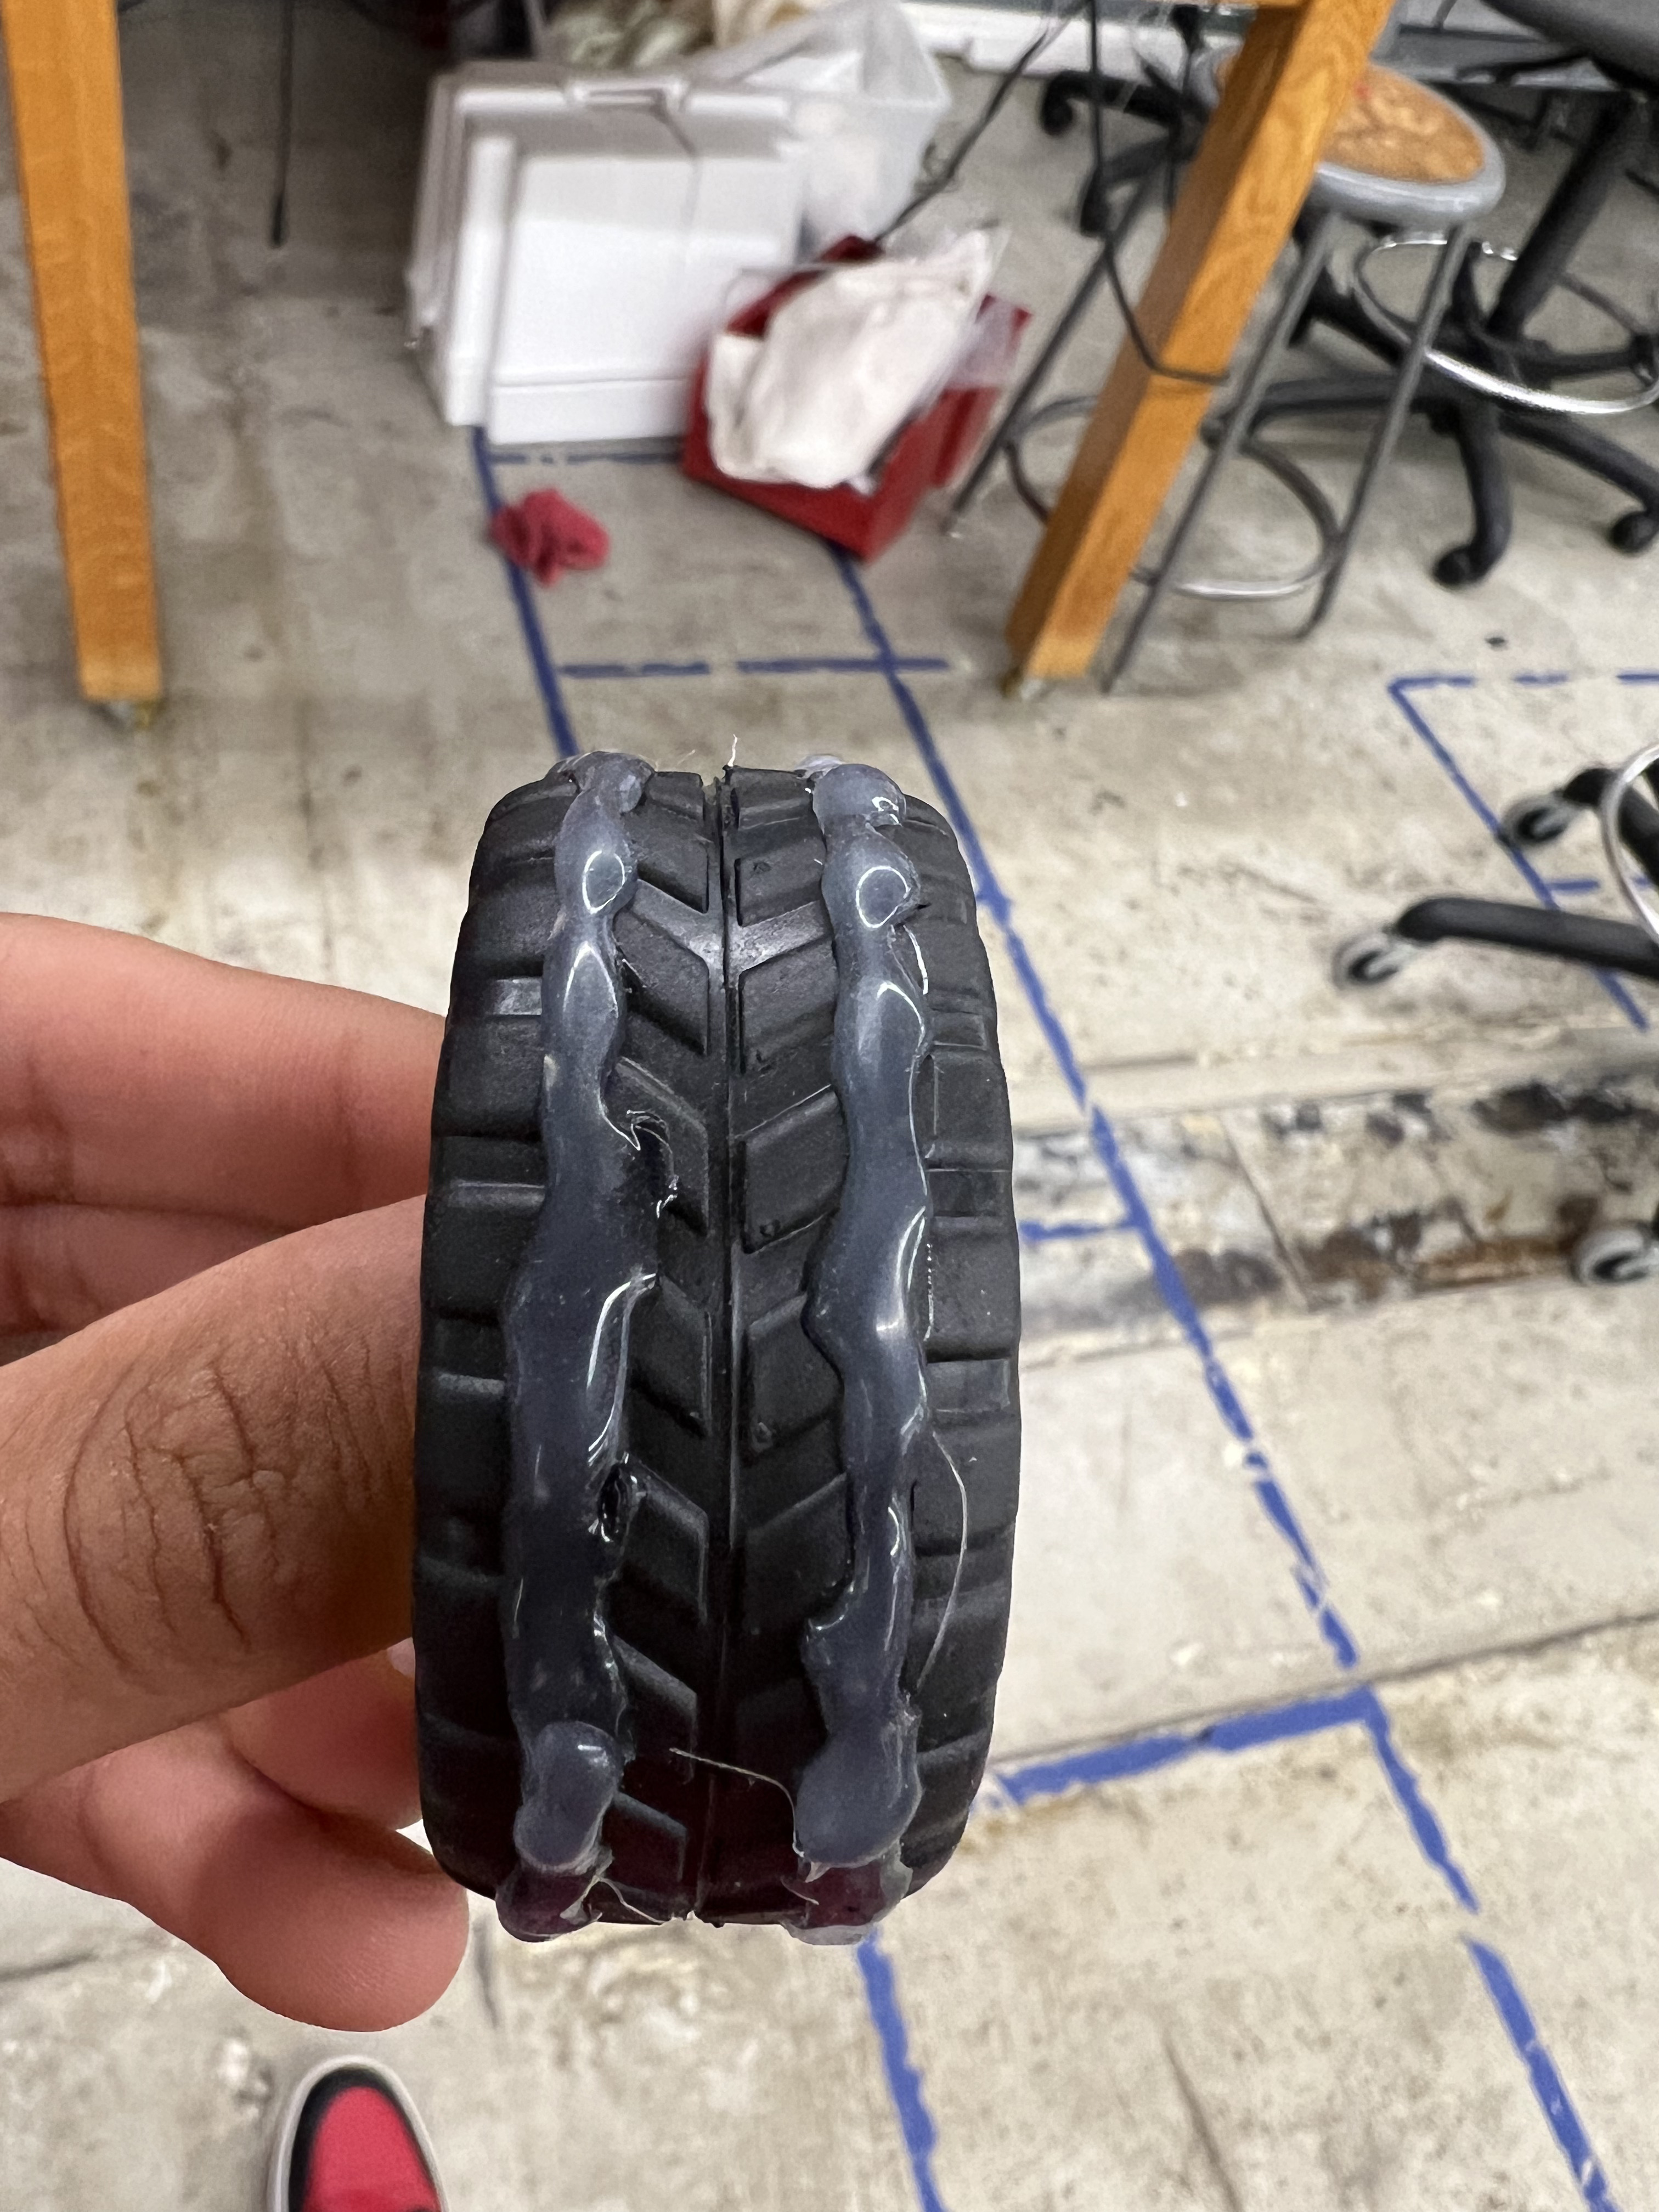
The Traction Hack
The stock wheels were made of low-quality hard rubber and had zero grip. I improvised by adding hot glue beads and rubber bands around the tires. It wasn't pretty, but it massively improved traction.
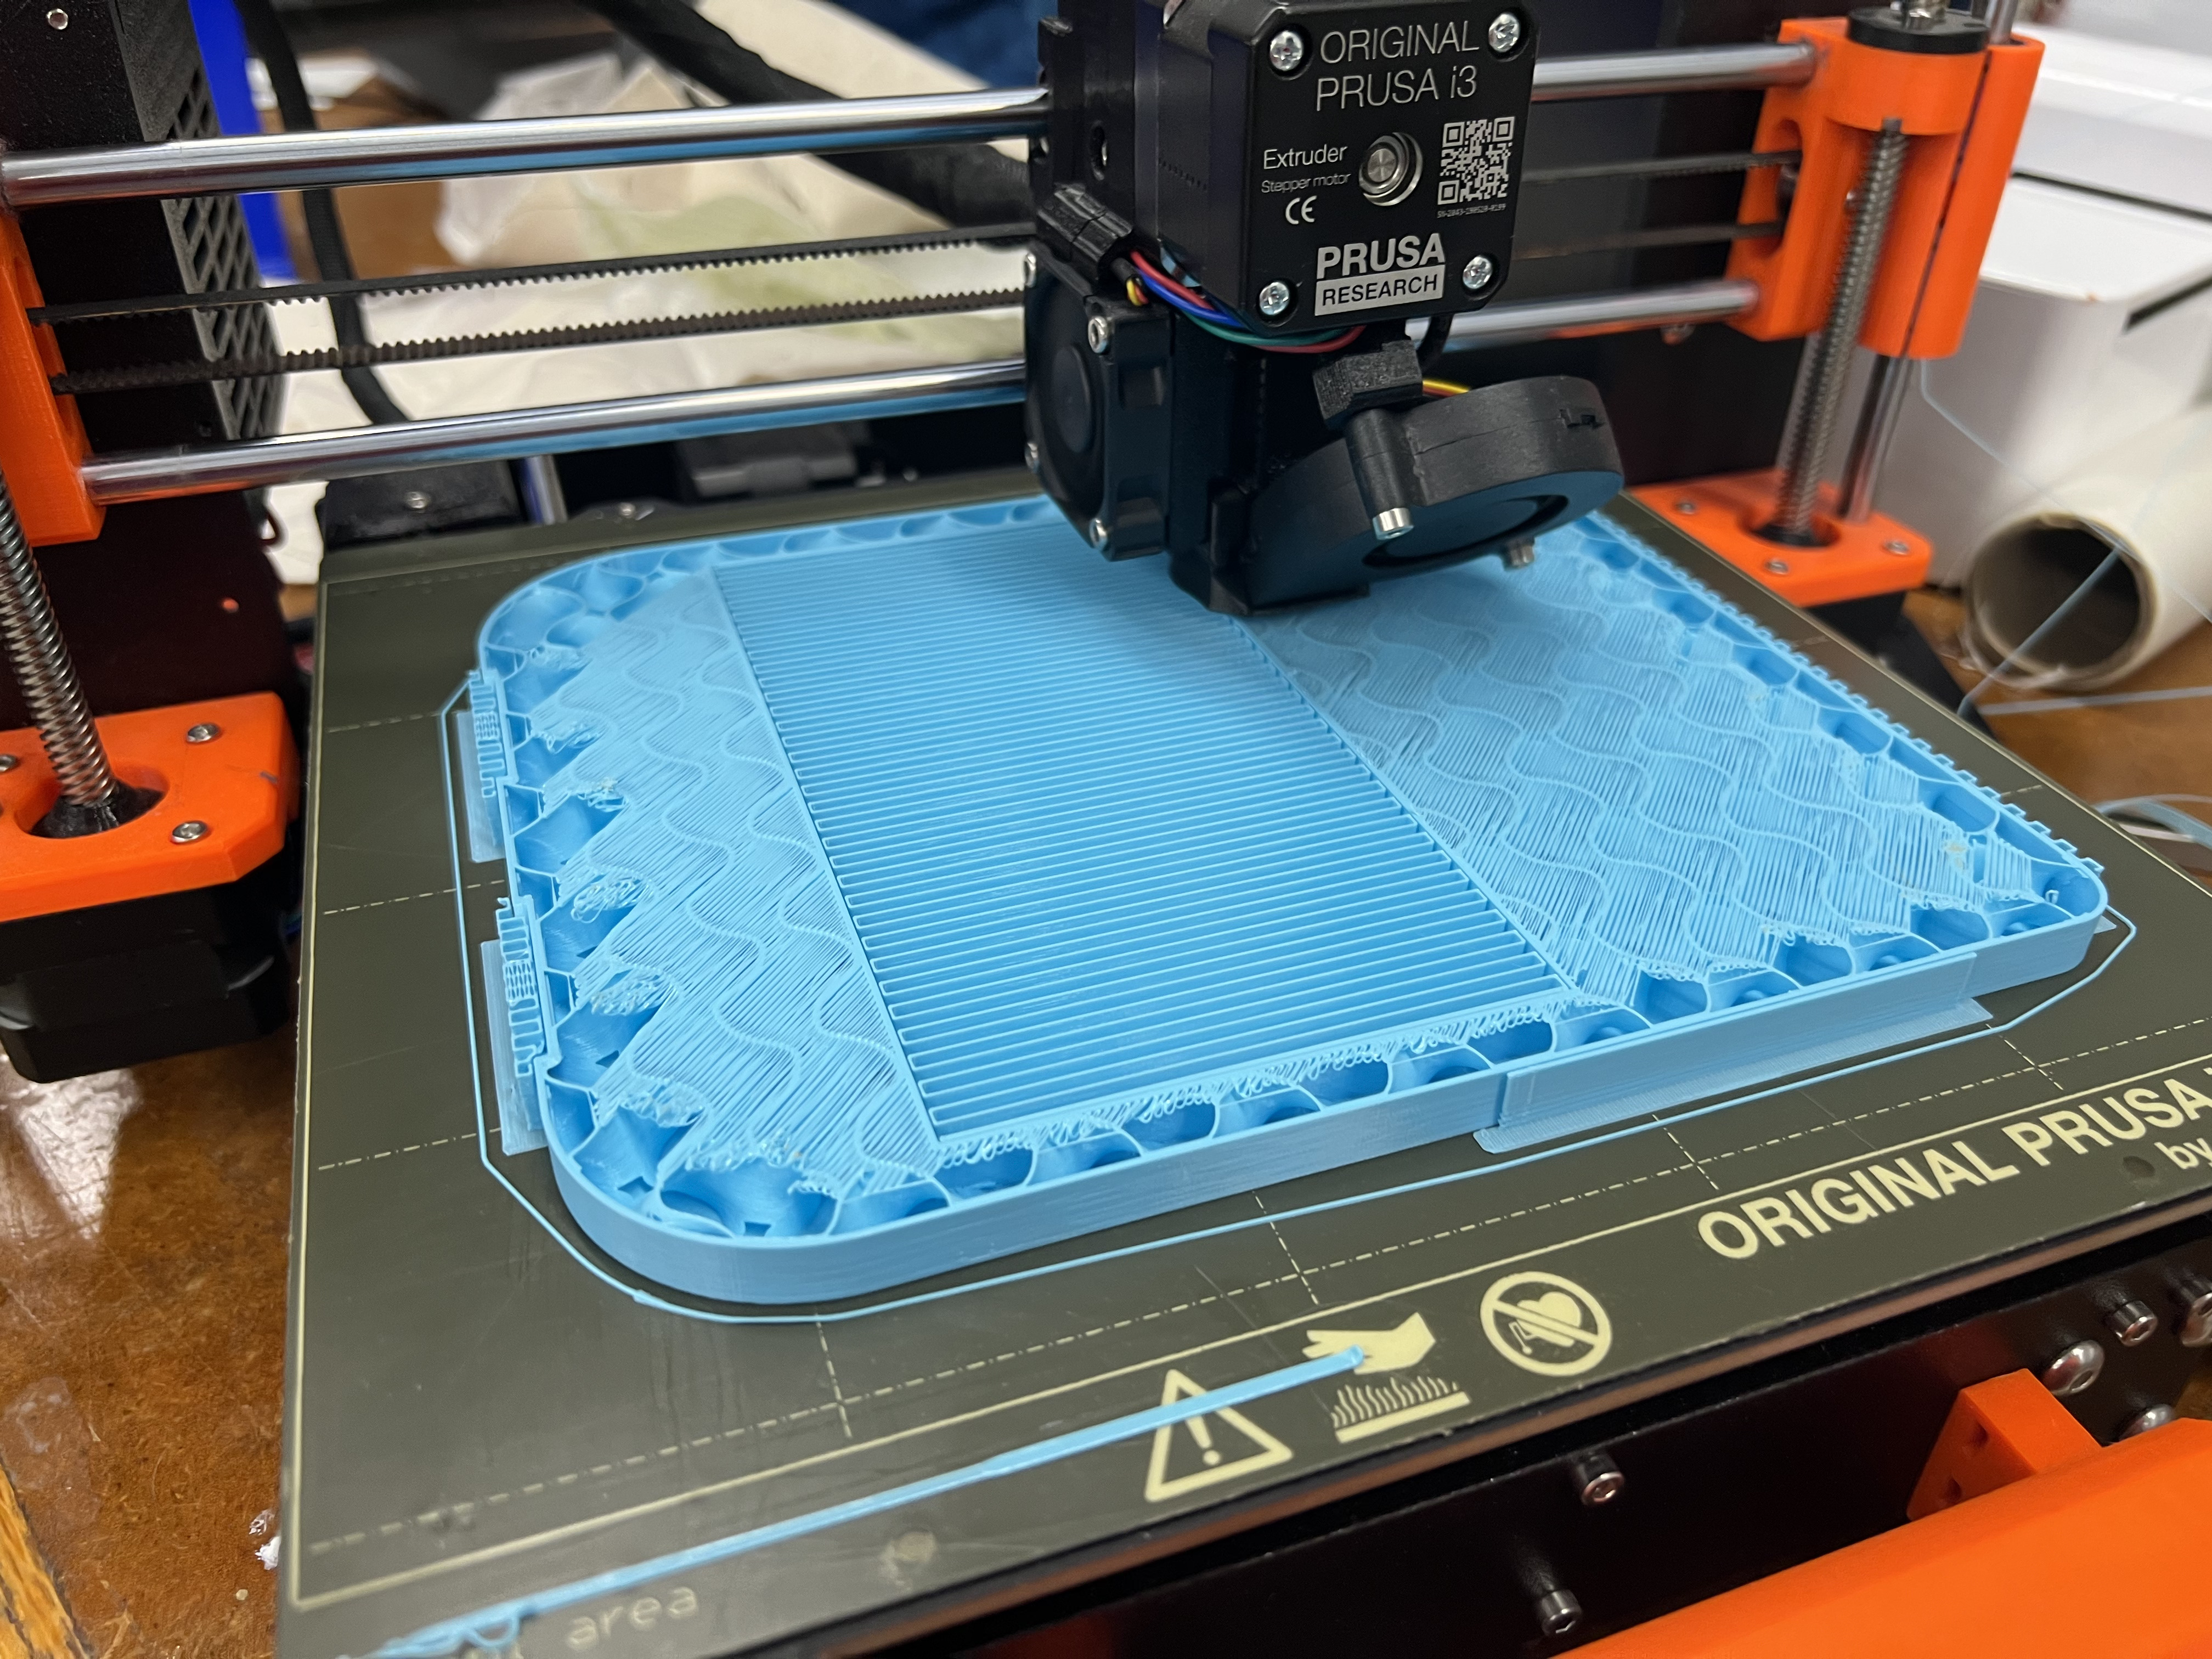
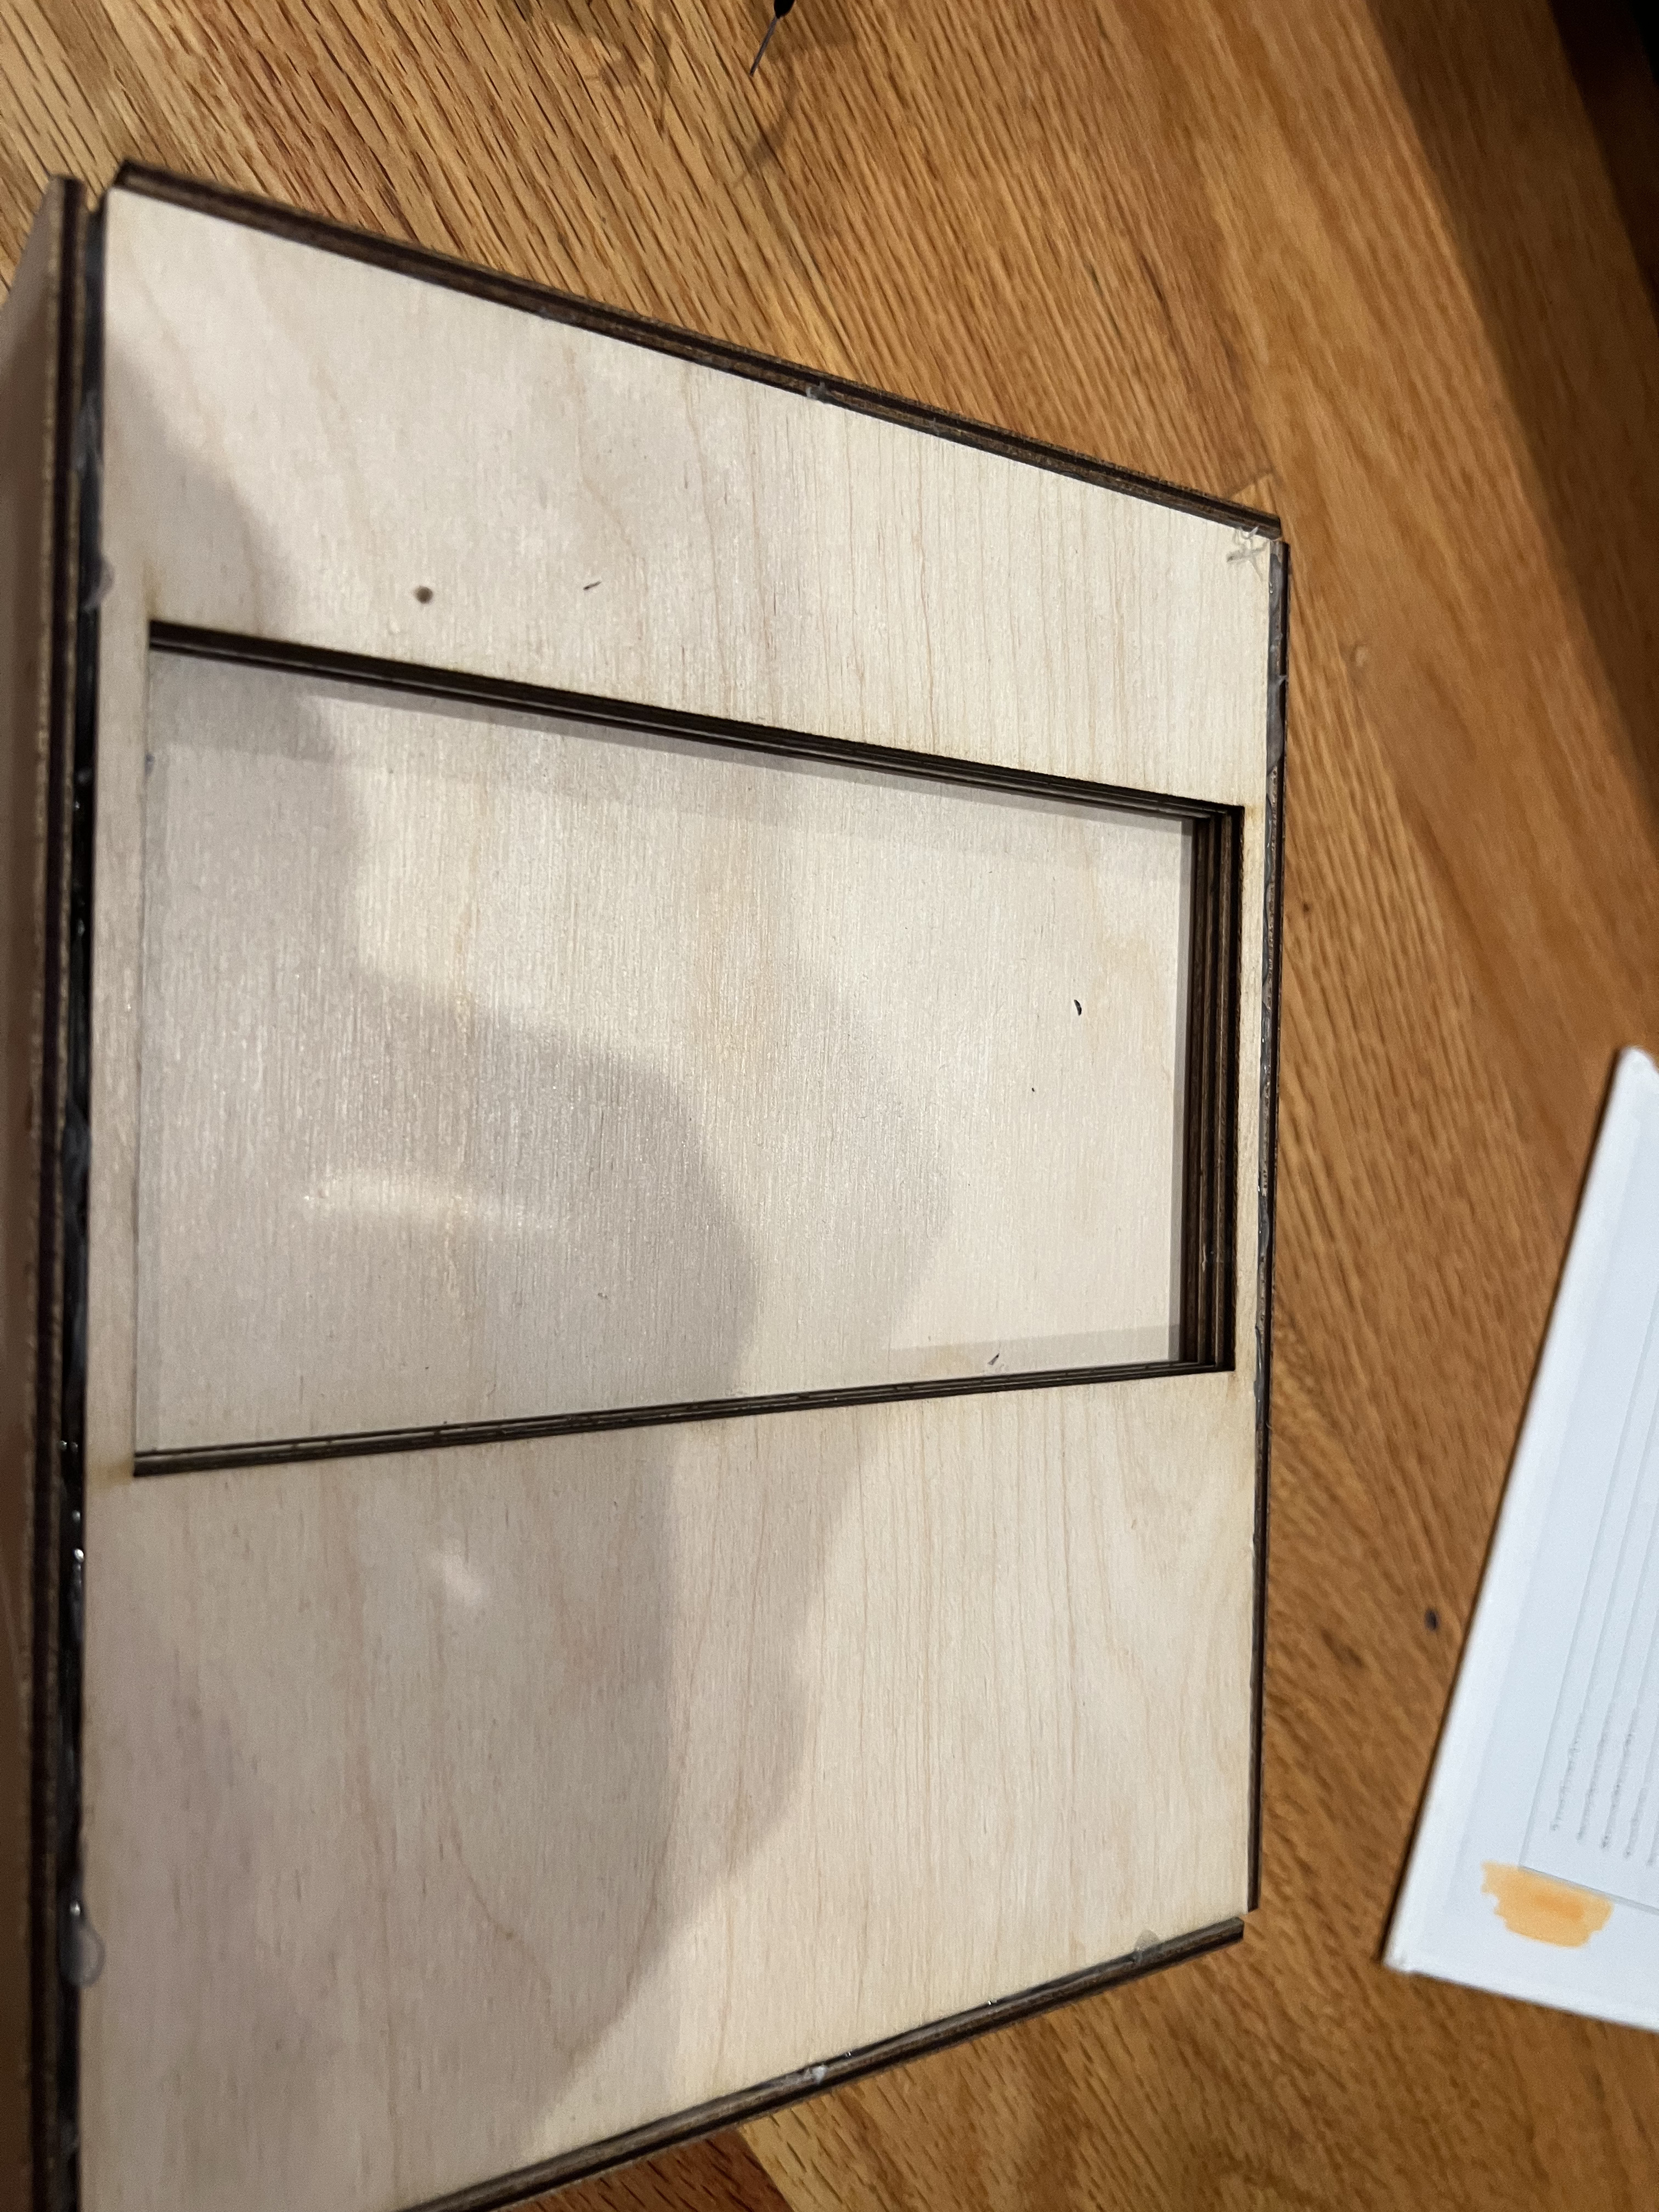
Chassis Fabrication
I initially tried 3D printing the chassis. However, I was warned about a high failure rate for large flat prints. The advice saved me—the print failed spectacularly.
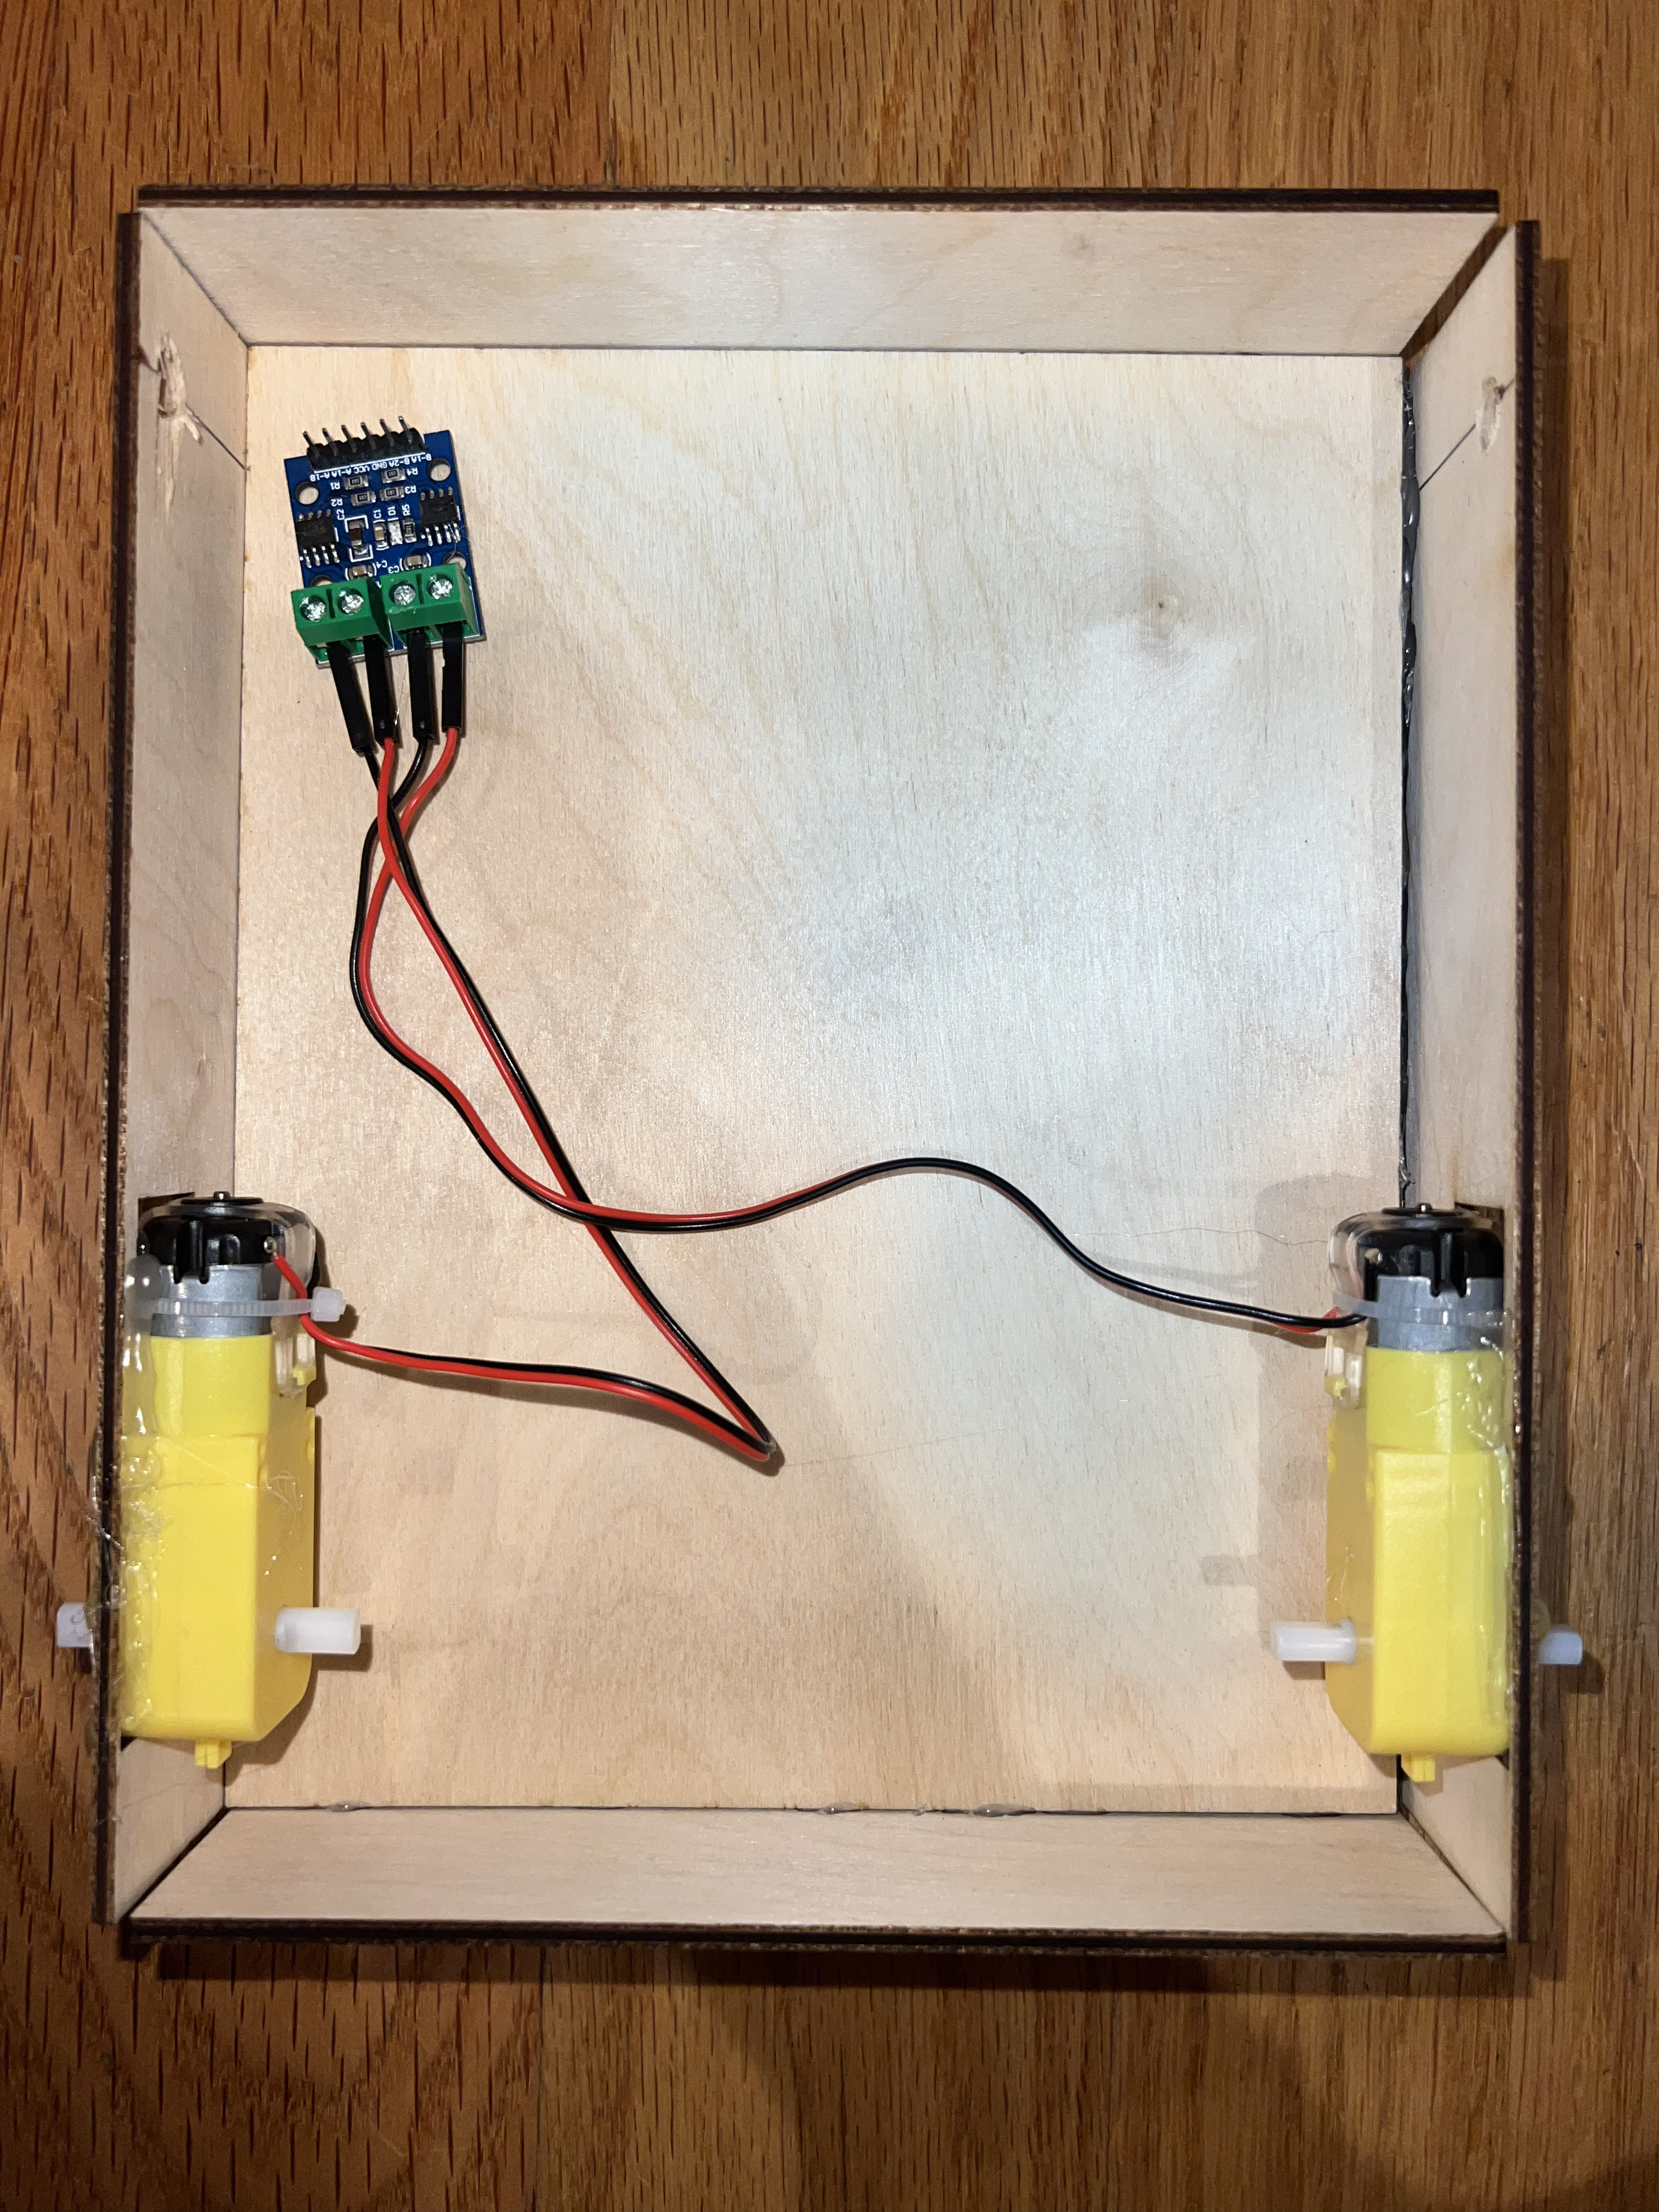
Pivot: I switched to laser cutting. I designed a plate with custom cutouts to press-fit the DC motors and hold the sensor breadboard securely.
Assembly & Logic
After press-fitting the motors (reinforced with hot glue), I wired them to an L9110 motor driver and the ESP32. I also upgraded the front idler gears so they would spin freely.
Gesture Control Magic
The "magical" part: using an accelerometer (MPU6050) to drive the car. I implemented ESP-NOW for low-latency communication between the hand controller and the car.
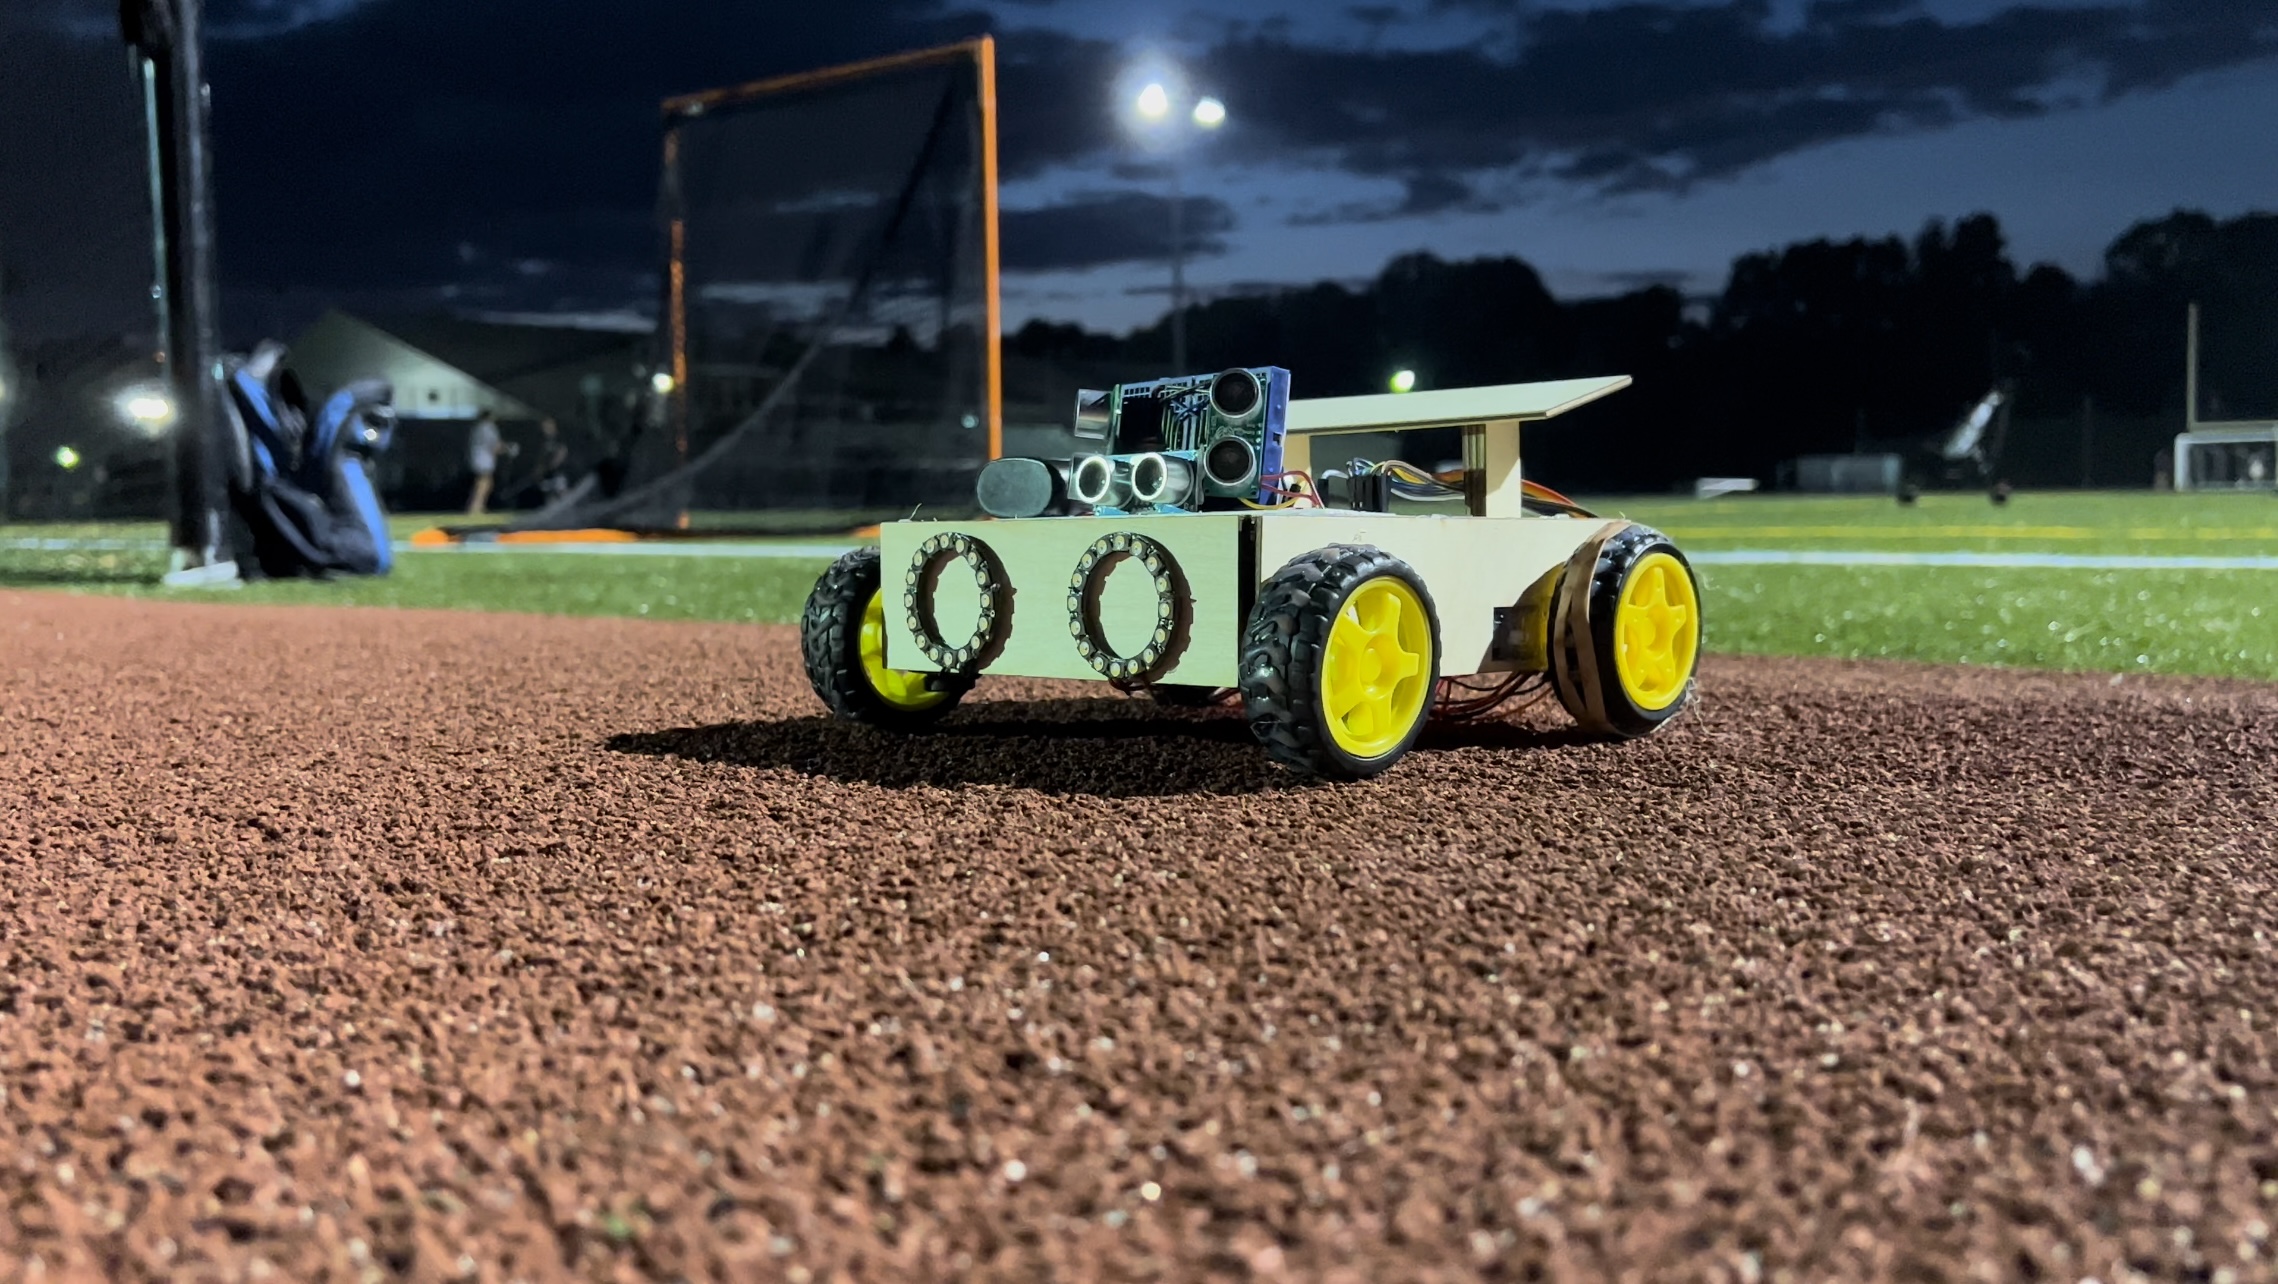
Final Result
The finished prototype. A fully functional, gesture-controlled vehicle with autonomous obstacle avoidance capabilities.